Working with audio in ProPresenter 7

Working With Audio in ProPresenter 7

Video Transcription: 

ProPresenter is more than just visuals. There’s also a powerful audio routing and editing tools for your presentations.

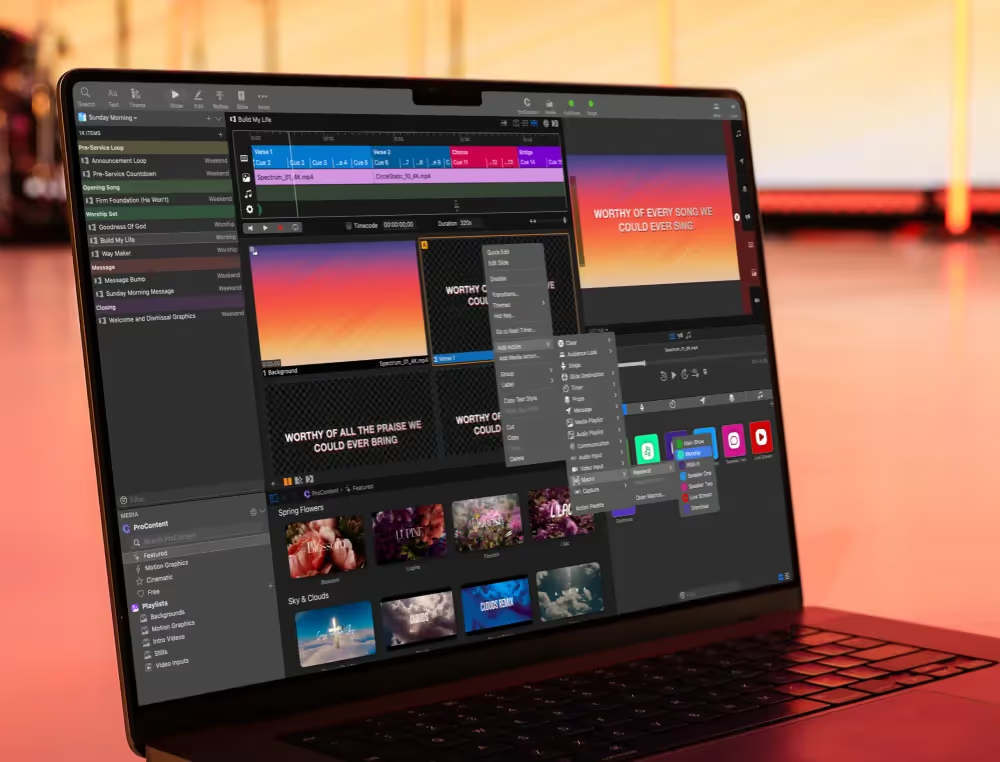
The main audio area is located below the preview. If we click on an audio track, it’ll start playing back and we’ll see the meters on the screen. We’ll also see an indicator showing that this layer is enabled and we can clear out audio. However, we’re not seeing any transport controls. That’s because we need to switch the transport controls from the presentation controls to the audio controls. Now we can see the playback and control our audio. We can pause this from here and we can again clear out this audio.

Now, as you can see, we can have multiple playlists, and each playlist will show us how many items are in it and how long they are. Now, if we want to create more space to view these items, we can collapse our playlists and switch between them by clicking on the title. We can also add more items by clicking here or simply dragging them into a playlist. We can also shuffle this playlist, filter through it, and change our transition lengths.

Now if I right click on a song, we can set our playback behavior. Currently, it’s set to next, but we could set it to stop if we don’t want it to play through to any tracks after this, or we could set it to loop, or we could set this as a sound effect type. But the real power is in the inspector.

Here we can scrub through our audio and we can actually see a wave form of what’s currently playing. We could set new custom in and out points. We can go to properties and change our playback behavior or our playback rate. And on the audio tab, we can actually set custom transition fade in and fade out behavior for this clip, and we can customize the channel routing. So we could say that we want this song to actually play back. Instead of playing back channels one and two, we want it to output two channels, five and six. And then below there you’ll see mutant solo options for each individual channel.

Now to get into even more details with channel routing and other settings, let’s go to ProPresenter and preferences, and on the audio tab you’ll see we have even more settings here. First off, we can actually select a different device for our inspector output. That way when we’re previewing audio, it’s not being sent to our soundboard, but we could choose another device that we can preview locally. Then, for our main output, we can set how many channels ProPresenter is outputting. We could set a delay for that audio, change the master volume, choose a different output device, and set up our channel routing.

Here you’ll see all of the device channels as well as ProPresenter’s channels, and you’ll see this T button, which allows you to send a tone from ProPresenter’s channels through to your device channels to make sure they’re mapped properly. Currently, the ProPresenter channels are mapped to the exact same channels as the device channels, but we can change this. So if we wanted audio playing back in ProPresenter’s channels one and two to actually go to our device channels seven and eight, all we have to do is go here to change that up. So you can set up some really unique and powerful audio mapping through channel routing.

And the last thing is that you can trigger audio not just from the audio bin, but we can actually trigger audio from a slide. All we need to do is drag it to a slide and we’ll see a new audio icon show up, and now audio will play when we click on that slide.

You May Also Like

vMix vs. OBS: What's Better for Streaming?

vMix vs. OBS: What’s Better For Streaming?

Ranking the Best Twitch Streaming Software in 2023

What is the Best Streaming Software For Twitch in 2024?

Ranking the Best YouTube Streaming Software in 2023

What is the Best Streaming Software For YouTube in 2024?

Ranking the Best Presentation Software Heading into 2024

Ranking the Best Presentation Software Heading into 2024