
Video Transcription:
Scrolling text gives you the ability to scroll any text box in any direction inside ProPresenter. And this text can come from inside the program or an outside source, like a text file or an RSS feed. In this video, we’re going to learn how to implement scrolling text by creating a lower third text scroll for pre-show information, an alert scroll for real time messages, and we’ll learn how to make cinematic text scrolling for song lyrics. Plus we’ll make our teaching notes a little bit more engaging by adding subtle scrolling movement.
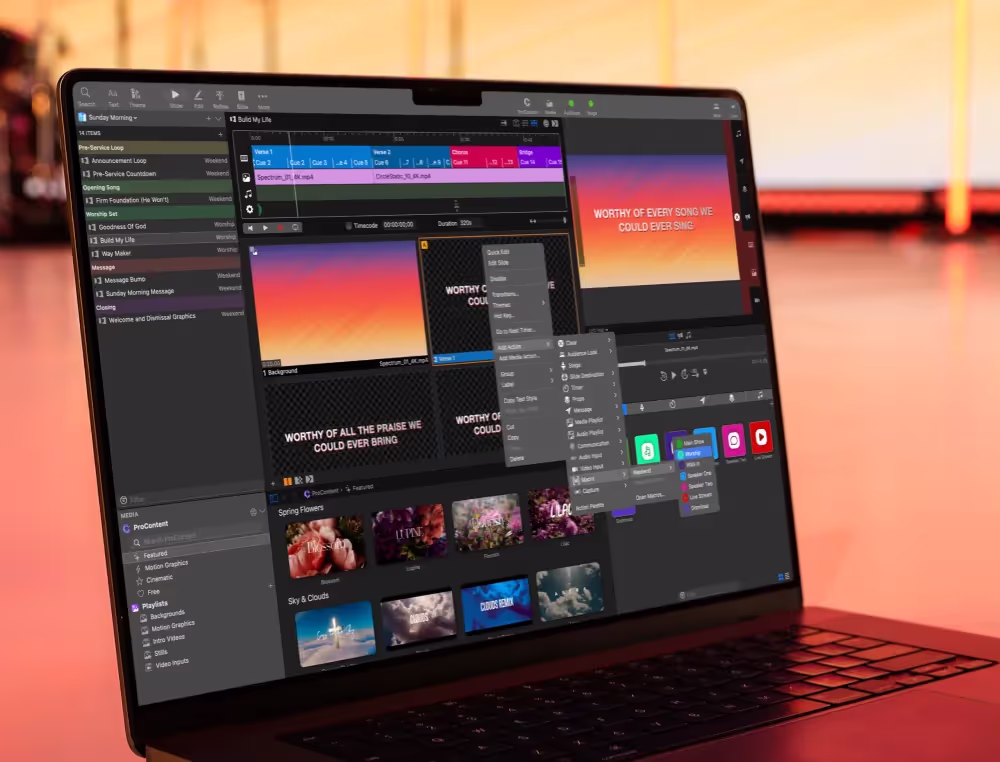
First, let’s look at how to make a scrolling text box and the settings that we have available. You’ll find the scrolling options in any editor inside ProPresenter. We’re going to look at the main editor, but you can find this in the props editor, the stage editor, the theme editor, any of those editors, you’ll see these options and they’re enabled for text boxes.
So we’re inside the main editor and I’m going to select a text box and I’m going to go to my text properties and down below you’ll see an option for scrolling.
When we enable this, we’ll see all of our different scrolling settings. The first is which direction do we want our text to scroll? So this is setting it up to scroll the text from the left side to the right side. And then we have an option for start position. Do we want it to be automatically placed or do we want it to start off screen or outside of the text box? So it would start right off the edge of this text box for this setting. But if we would set this to a bottom to top scroll, the text would start right off the edge of the bottom of this text box and then scroll upward.
Then we have an option for speed. So we could turn this down maybe a little bit, and then we have an option for feathering. Now feathering is a link with our direction. So if we have a bottom to top scroll set, the feathering will happen on the bottom and the top edges. And we can see how much feathering we have by bringing in these sliders. And you can unlink these settings by clicking the link icon in the center. And now we could set maybe a stronger feather at the bottom than the top, so you can do some unique looks. And if we would set this to left to right, you’ll notice that the feather is now happening on the left and the right edges instead of the top and bottom. So this feathering is linked with the direction that you’re going. And then finally, we have an option to repeat.
So if we want our text to repeat as it scrolls across, we can do that or you can deselect this and your text will just scroll across the box one time. And when we have this enabled, we have an option for the distance between each repetition. So let’s see what this looks like. We’ll go back to show and we can select this and you’ll see that our text is scrolling from the left to the right side. We have this nice feathering happening, and you’ll see that 100 pixel spacing between each repetition. Now there’s another setting that we can use in conjunction with our scrolling. So when I select this text box, you’ll see that our scroll was happening with our two lines of text. But typically when you’re doing a left to right scroll, you want everything to be on one line. So we need to enable some line transformation.
This is a separate setting that you can use independent of scrolling, or you can use it with scrolling. So we have some options in here and we can remove line returns. So this is going to put all of our text on one line. Or another option you might want to use is replace line returns. And what this does is it actually adds in whatever character you see in this list, or you can add your own custom characters. So I could go in here and add a couple dashes and you’ll see that it’s adding that in and that’s replacing the line return. But now all of our text is on one line. So now when we go back and check this out, you’ll see that we have our text that’s scrolling across and we have our new characters that have replaced the line returns, and we have our spacing between each repetition.
Now let’s create our pre-show information scroll that could be used with announcement slides or over top live video. Now we’re going to put this scrolling text in a prop because the props layer is above the announcement layer and presentation layers as well as the video input layer. And it can be triggered separately. So it’s the perfect place for us to put this sort of scrolling text. So let’s click on props from show controls, and then we’re going to click add to add a new prop. I’m going to call this pre-show info, and then we can click on edit to bring us to the props editor. We’re going to click on the add icon to add a new text box. And let’s paste in some information that I typed earlier. So you can see here we just have some pre-show information that we want to show overtop our announcements loop or overtop some live video with host talking.
And now we can enable this text box to be scrolling. So we’re going to select scrolling and we can change our speed and maybe make this a little bit slower, add a little feathering on each side. And now we need to transform our lines to make sure this is all on one line instead of a big block of text. So we could choose remove line returns, but I want to have a little bit more distinction between each piece of information. So I’m going to say replace line returns. And we can even add in extra spaces in here just to make it a little bit more obvious. So I’m going to add in a couple extra spaces and you’ll see how that spaces out our text a little better. Now we can just format this text box to look the way we want it to. So I’m going to move this down to the bottom of the screen.
We’re going to make this the full width the screen, and let’s change our text size and maybe make it just slightly bigger. So we’re going to go to 50 point and let’s add in a background so that this shows up easier above other information. So we’re going to go to our shape settings and we’re going to set a fill for that text box. And we’re going to set that to be a gradient. And we’re going to just choose kind of a red to a purple gradient here, something kind of fun looking for our text to be on top of. So now we can go back to show and we can see what this prop looks like. So we’ll just select the prop and it will start showing that. And if we wanted to see what that looks like above some content, we can click on some announcement layer content there. And you’ll see our announcements are showing and our text is scrolling just the way we want.
Now, we manually typed that information in, but it would be really easy to bring in text from outside of ProPresenter. And so let’s go back to this prop and we’re going to right click on it and say edit. And then we’ll select our text box and we’ll go to our text settings. And down at the bottom you’ll see an option for link text. And when we choose this, you’ll see we have a bunch of different options here. We can pull text from inside of ProPresenter current slide, next slide, different options here. Or we can pull information from outside of pro presenter, a text file or an RSS feed. So now we can paste in our RSS feed. And now we have this RSS feed that’s going to show in this text box. And we have some options here as well. We can choose what content’s being shown.
Is that just the title of each RSS item or is it the title and the description? And we can choose what we want to be between each item. This is similar to our replace line returns. So do we want to havejust be a space or do we want some sort of character in between things? So I’ll do it just like we did before. We’ll add a couple extra spaces between each and we will show this. So we’ll go back to show. And now let’s click on this. And this is going to bring in that weather forecast that we pulled in. And so here’s all of that information and that will scroll across the props layer above all of our other content. Now let’s take this one step further by adding a countdown clock to this pre-show prop scroll. So we’re going to right click and edit this prop, and we’re going to add in another text box.
We’re going to add in another text box, and we’re going to put this down in the corner over here so that we can have this above our other text scroll. So we’re going to move this over into this corner and we can then set our shape to be a fill color. And we’re going to set that to maybe be white so that it really stands out. And we could go in and change our text color. Instead of that being white, we could maybe make that purple or black. And let’s change our text size to be 60. And let’s change this shape to be something a little bit more interesting. So we’re going to right click on it and we’re going to say make editable. And now we can actually edit this shape. And so I’m going to just drag this box over so our shape has a more unique diagonal line to it for our text to be inside of.
We also might want to justify our text to the right side, and we don’t want it right against that right wall. So we’re going to add some margins. So I’ll go to my text properties here, set a margin on the right side to maybe be 50. And so now it’s pushing that text over from that edge. So now we have this really unique look here and we can link this text to a countdown clock. So we’re going to say link text, and we’re going to go to timers and we’re going to say countdown clock. So now it’s going to pull in that countdown clock, and we’re going to just set this to be only minutes and seconds. And so that will show in that clock there. So now when we show this, we have our clock here and you can see it’s currently actually running. And so we just have a few seconds left and we have our scroll going as well as our clock being shown.
So you can do some really powerful things using props. Next, let’s take that same idea and create a scrolling message for realtime alerts for your in-person audience. One common alert that you would send to your in-person audience is about a child in the kids’ area. And so we can do this through messages. So I’m going to click on messages and I’m going to add a new message, and it’s just going to be kids alert and I can fill out the details for our message. So I’m going to type in parent number, and then we’re going to say space, and we’re going to add in a new token. And I’m going to just put in parent number as my token, and that will add that token in. And then we can say, please come to the kid’s area. And then we need to use a theme to show this message. So what we’re going to do is we’re going to click on this and we can go in here and we can look at all of our different templates.
I don’t really see one that works for what I want to do. So I’m going to go to lower thirds and I’m going to edit this and add a new theme. So we’ll just to add a new theme here, and we’ll choose this text box. And similar to what we did before, we’ll move this down to the bottom of the screen, and then we’re going to set our text box to be the full width of the screen. And we can maybe change this text size to be up a little bit more again to like 50. And for this one, we’re going to set the shape of this to have a fill color of like a dark deep red for an alert. And then we’ll go back to our text settings and we’ll set this to scroll and we’ll do a little feathering on the edges, set our speed down, and that’s all looking exactly the way that we want it to.
So now we have a text box that has some scrolling text in this theme called lower thirds, and we could name this alert. So we can name that theme so we know what that is. And now if we go back to show and go over to our show controls, we can choose which one we want to use. So we’ll go to lower thirds and choose this alert one. And now you’ll see if we get out of our edit mode, we’ll see we have our parent number, and we can write in 1, 2, 3, and we can say show. And when we do, it’ll say parent number 1, 2, 3, please come to kids’ area. And it’s going to scroll that over and over again at the bottom of the screen until we hit hide. And when we take it away, it’s gone. And we can easily update this at any time to be a different number and hit show.
And it will show that number at the bottom of the screen, and we can show that to our in-person audience versus our live stream using looks. So all we have to do is go to screens and edit looks and make sure that our message layer is only enabled on our main output and not our livestream screen. So all I have to do is turn that off and hit save. And now when we show this, we’ll see that it’s showing on our main output, but it’s not showing on our livestream. Now let’s look at how to create scrolling lyrics in a cinematic style. Now, just like we did with messages, we can have scrolling text inside of a theme. So the first thing that we want to do is actually set up our theme. So we’re going to go to more and go to our theme editor and we’re going to create a new theme.
So I’m going to add a new theme here. And for this text box, I want this to be the height of 120, and we’re going to make the width of 1920. So it’s the full width of our screen. And I’m just going to put this down at the bottom here. And then let’s set the fill of this to be black. And we’re going to go to our text settings next and set our text to scroll. So we’re going to have scrolling text inside of this text box. We’re going to set the speed to be a little bit slower here. We could do a little feathering on the edges. And the other thing that we need to do is account for multiple lines of text. We want to make sure it all turns into one line. So we’re going to change our line transformation to be remove line returns. So now it’s going to put all of the text on one line, and let’s maybe make this a little bit bigger and a little bit bolder.
So we’ll change that to be some bold text, and maybe we can make this all caps as well. So we’ve changed up how this text looks pretty dramatically. And the last thing we need to do is add that one other bar to give us that cinema ratio look that you see in movies. So we’re going to go in and we’re going to add a new rectangle shape, and we’re going to put this up at the top of the screen here and resize this and get this to our 120 size. And we are going to go to our shape settings and change the color of that to be black. So now we have two black bars at the top and the bottom of the screen, but our bottom black bar has text in it that is scrolling. So we’ve now set up our theme. So now we need to utilize that theme, and I only want to utilize that on our live stream.
And so the way we can do that is by utilizing looks where you can set alternate themes. So I’m going to go to screens and edit looks. And in here we’re going to choose an alternate theme for our live stream screen. So I’m going to choose lower thirds, and we’re going to choose that new one that we just created. And now it’s going to use that theme for any text that’s on our live stream screen. In our main output, it’s going to look exactly the way our slides do. So I’m going to save that and make sure that that’s all ready to go. And now we can click on this and you’ll see that our text shows up at the bottom of the screen. And on our main output, we still have our normal text. But to get the full effect, let’s show our video input. And so we can see what this looks like above our video.
So we get those nice cinema bars giving us that cinematic ratio to our video, and we have our text at the bottom of the screen, and we can switch between our different slides here, and we can see our text scrolling across the bottom just the way we want it to. Lastly, we can get creative and add some subtle scrolling movement to our teaching notes. Now these presentation notes were created using the influence theme that you can download for free at propresenter.com/free. Now, once you have it downloaded and installed, if you go to your theme menu, you’ll see influence and you’ll see all the different great options that you have available, including this title with subtle scrolling. Now let’s see how this actually works to bring in some creative scrolling into your presentation design. So first off, we have a title here that’s been rotated sideways, and so you can edit that text, but we also have this subtitle down here, which is set up to scroll.
And it’s got a nice subtle speed of about 11% with some great feathering on it. And it’s scrolling from left to right, which is different than what we’re normally used to seeing, but gives some great visual interest. So let’s see what this looks like. I’m going to trigger this slide and you’ll see that our text starts scrolling from left out to right, and we get that subtitle there, and it gives some great visual interest to this slide without being too distracting. So hopefully this gives you an idea of how you could add scrolling to your presentation notes as well as using it for normal things like a text ticker. So now you can take your presentations to the next level using scrolling text as you present like a pro.
Stay Updated with Our Newsletter
Get the latest news, updates, and exclusive offers delivered straight to your inbox.
Questions?
Browse our FAQs or our Knowledge base that we’ve made to answer your questions. Need additional help? Connect with a support team agent!
What’s included in a ProScoreboard subscription?
A subscription gives you access to ongoing updates ensuring your software always stays current, a ProContent starter pack customized to your teams colors to enhance your game-day visuals, editable scoring templates with ready-to-go layouts you can easily tweak, video tutorials and 7-days a week support.
How is ProScoreboard different from traditional systems?
Traditional systems are often expensive, in a fixed-location, and hard to update. ProScoreboard gives you flexibility, portability, and dynamic visuals at a fraction of the cost… all while working on hardware you already own.
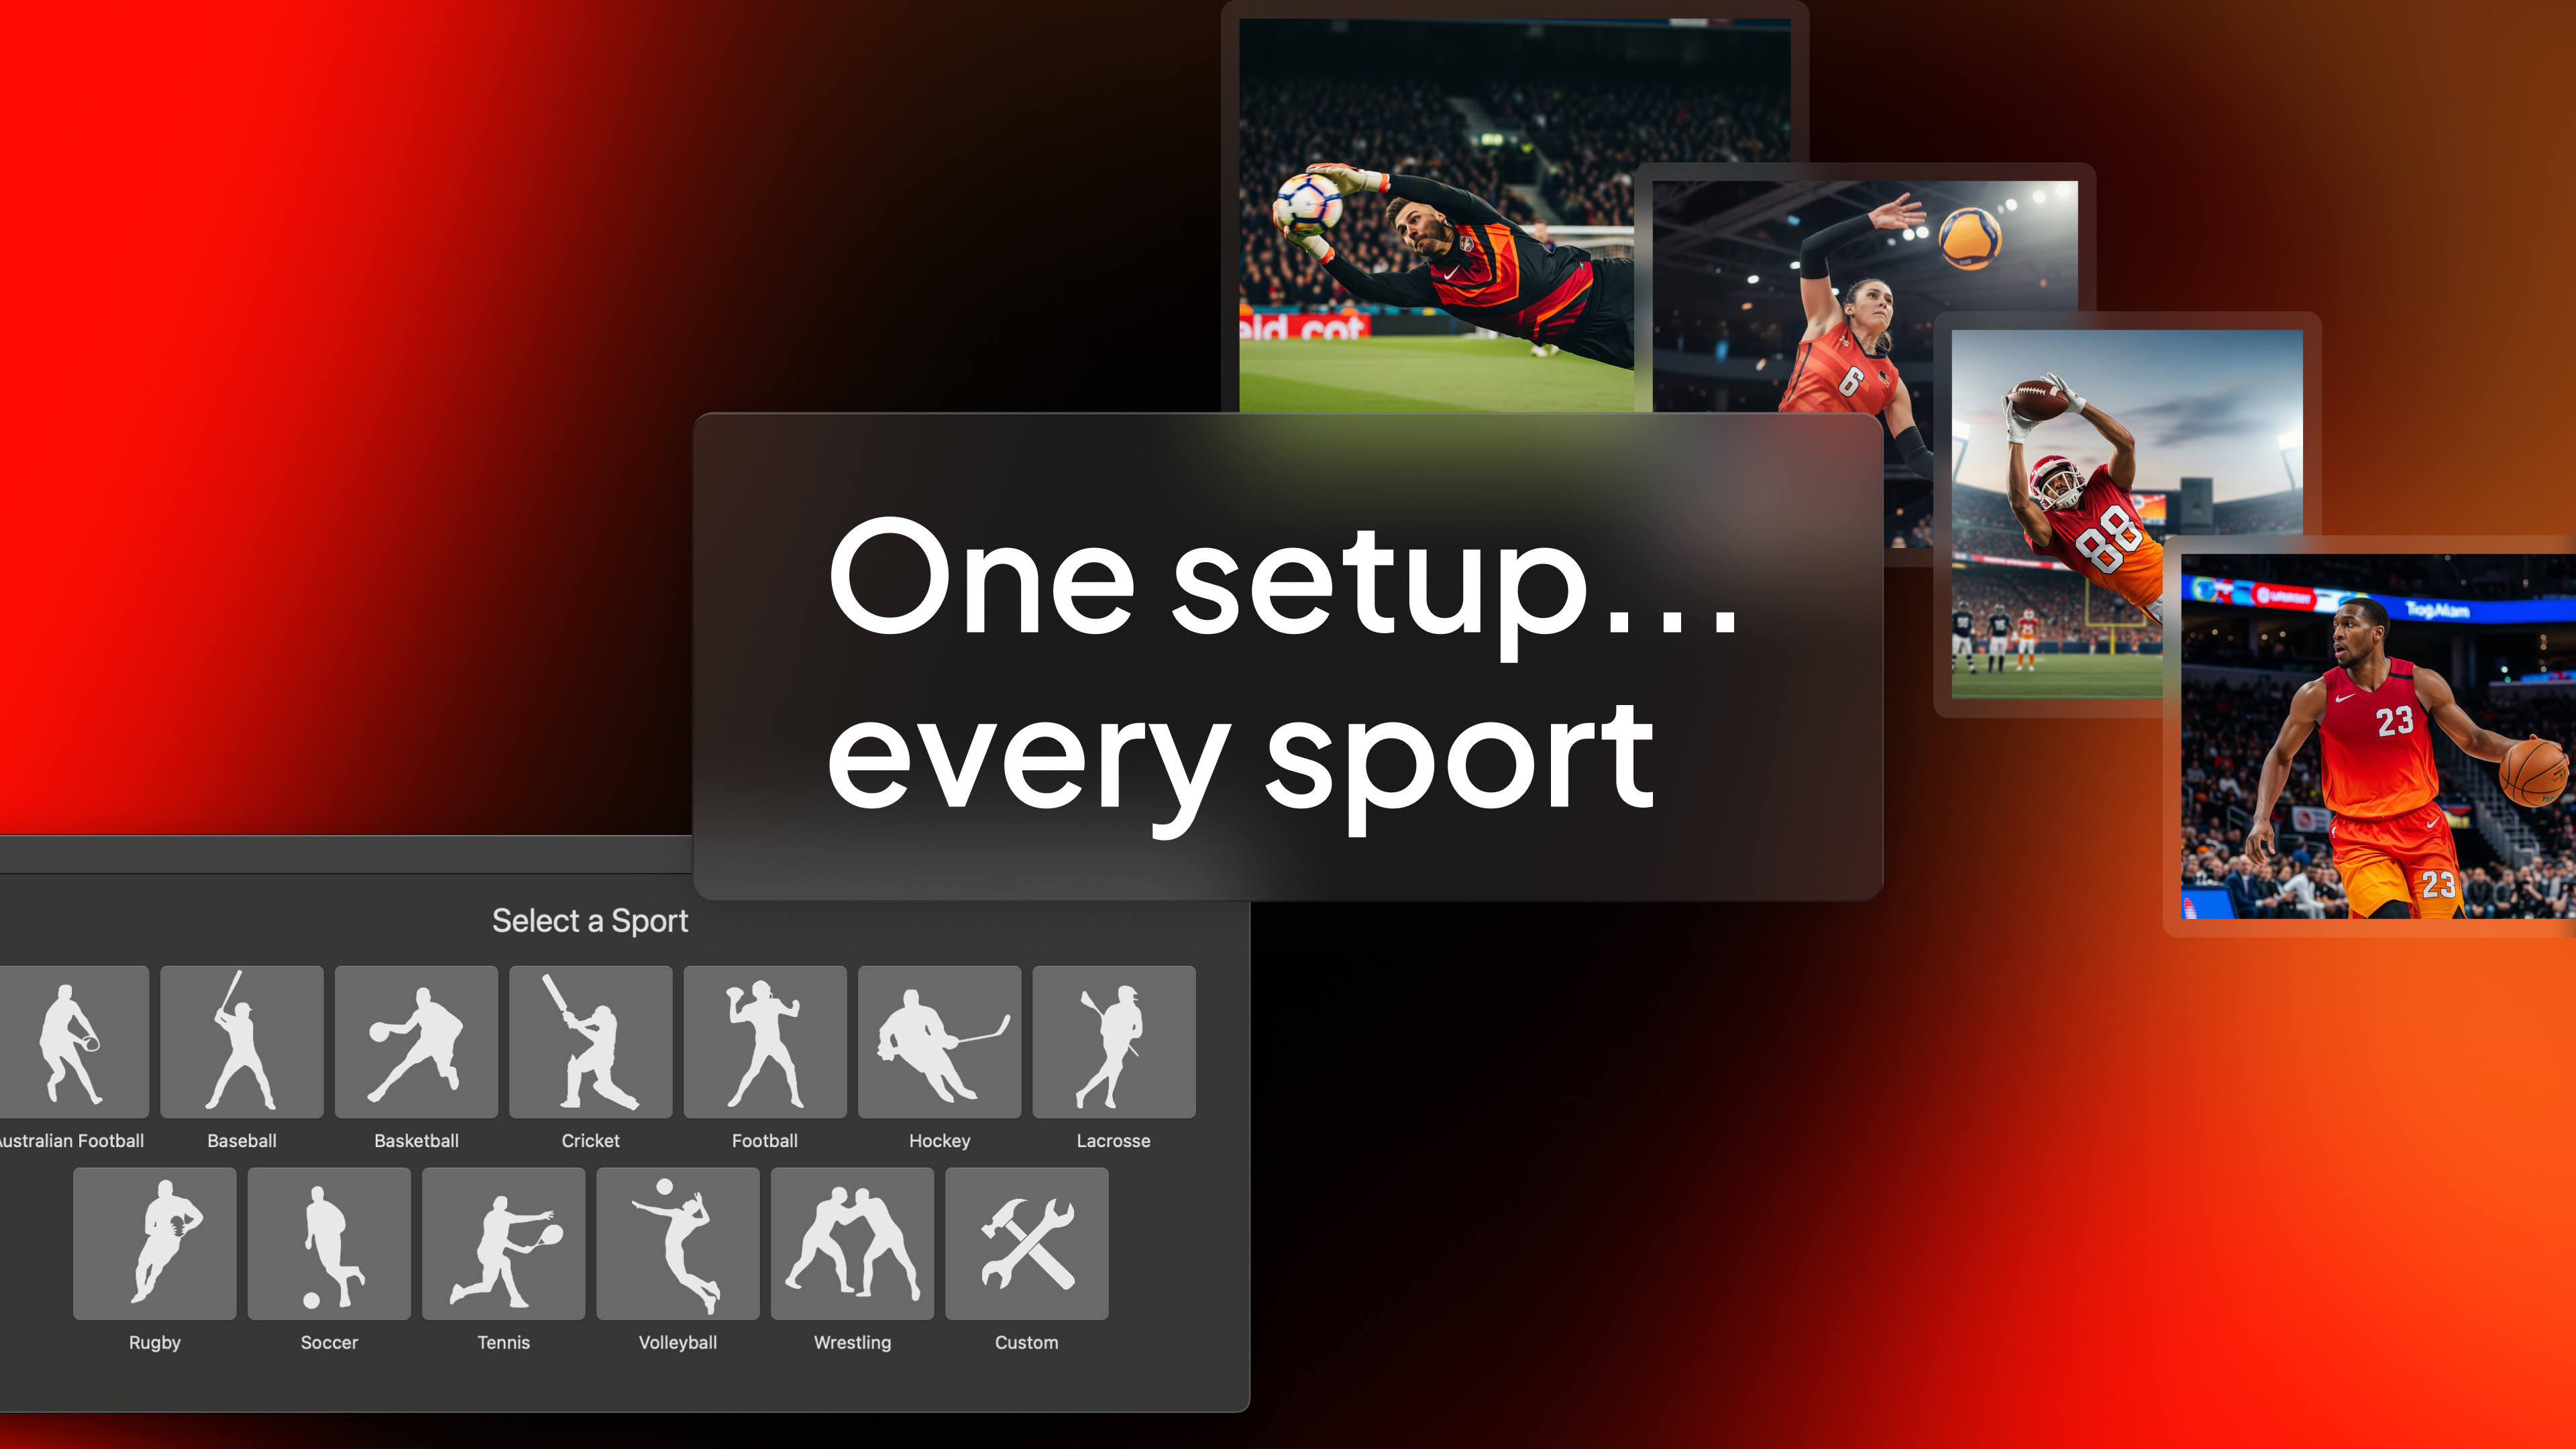
Does ProScoreboard work for multiple sports?
One license, multiple sports. Switch between custom layouts in seconds, making it perfect for schools and venues that host a variety of athletic events. ProScoreboard is built for versatility; supporting football, basketball, baseball, volleyball, soccer, hockey, tennis, lacrosse, Australian football, and more. Each sport has a purpose-built layout with the correct rules and visuals, so you can create a professional experience for any game.
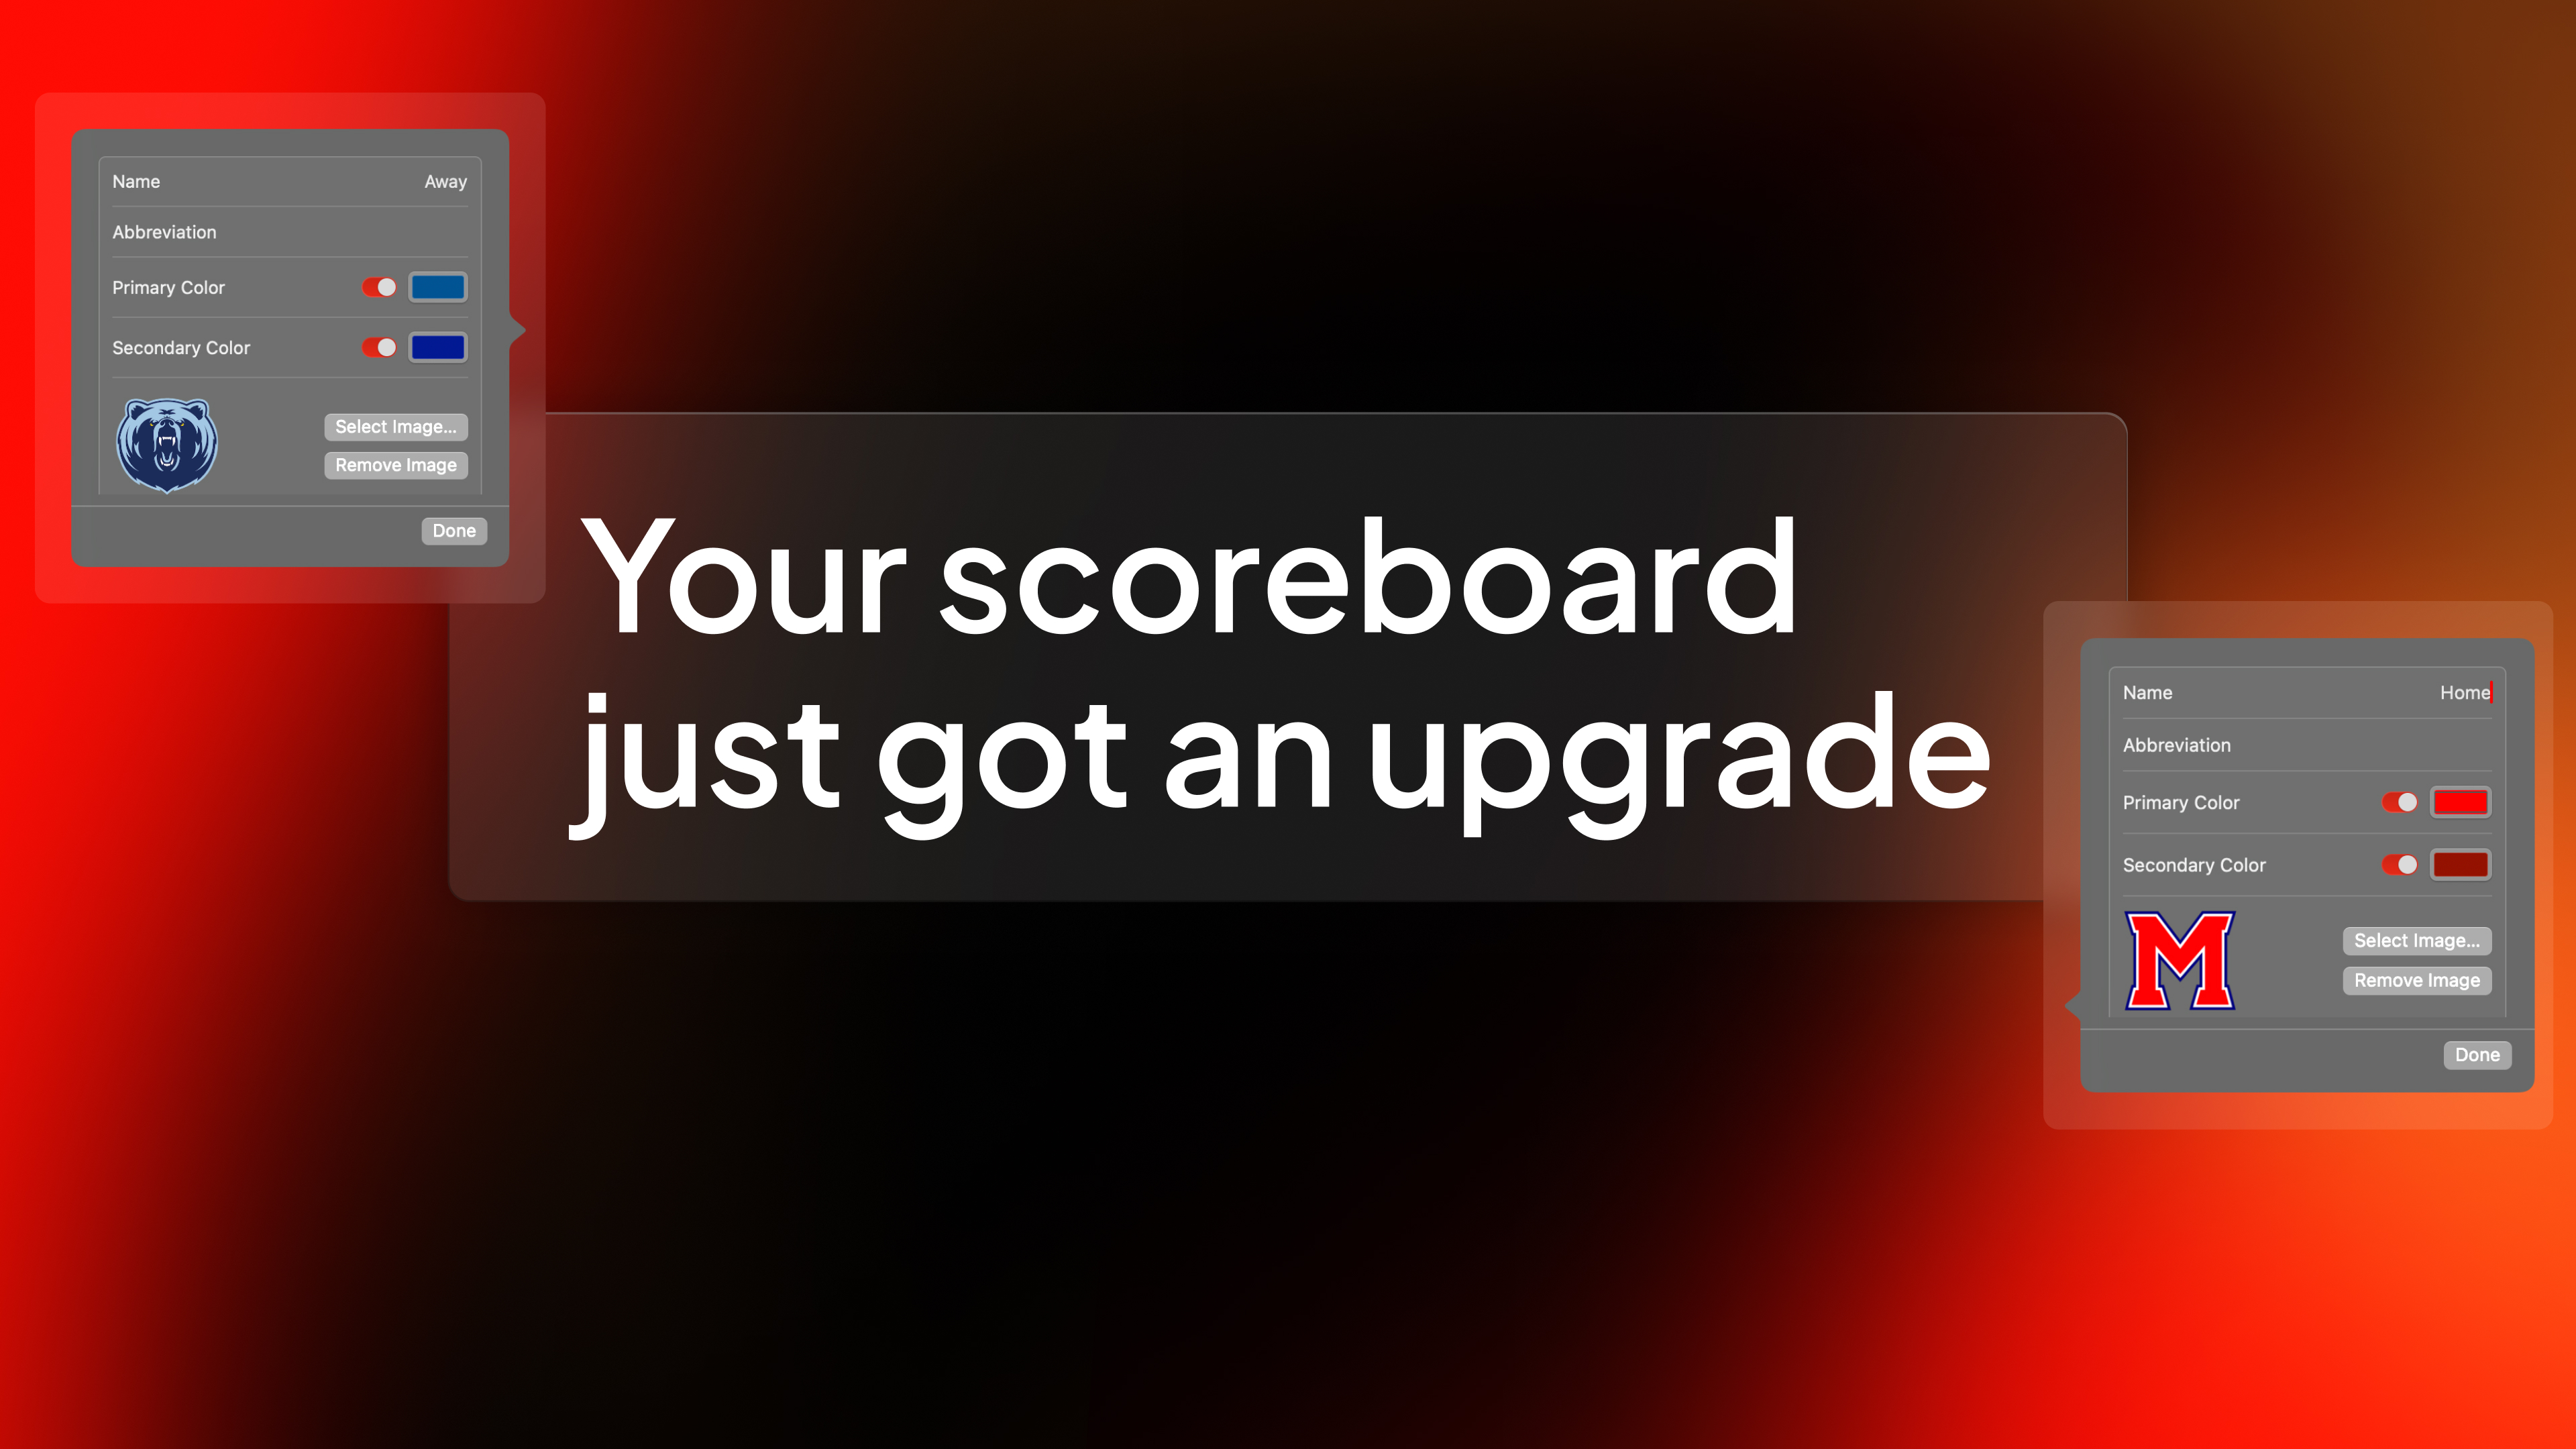
Can ProScoreboard integrate with existing LED or fixed-digit scoreboards?
Yes. ProScoreboard works with most scoreboard controllers. With just a serial connection and a simple dropdown setting, you can sync your visuals with existing systems- even legacy ones. We’ve done the heavy lifting so your transition is seamless.
Does it work with Scoretables or smaller setups?
Not every gym has a massive LED wall. That’s why we offer a Scoretable Edition, built specifically for tabletop displays at a lower cost. Run it solo or link it with larger displays. Available through resellers like Boostr, Formetco, and Digital Scoreboards.