
Video Transcription
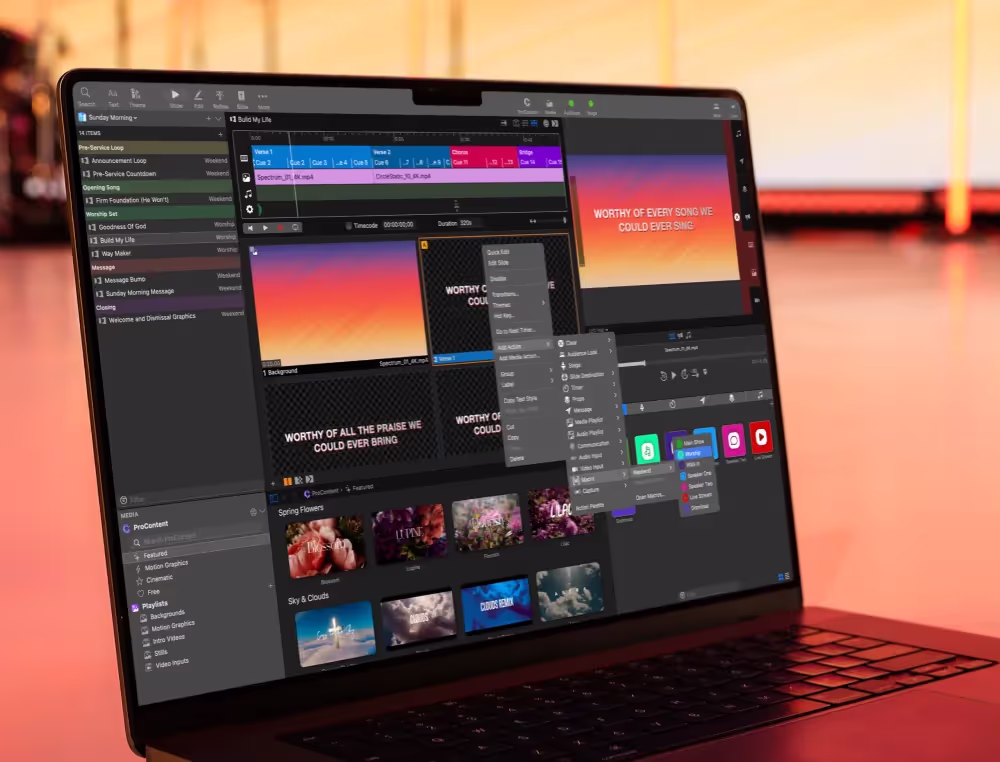
In this video, we’re going to look at how to set up and connect ProPresenter to an X32 or M32 series audio console, including how to send audio to the console and receive it back without creating any crazy audio loops or doubling. Plus, we’ll show you how to set up and receive a full broadcast mix from your console to ProPresenter to use when you are livestreaming.
Now, before we get started, I want to make sure that your X32 or M32 series console is on version 4.0 of the firmware. Version four gives you much greater power and flexibility when it comes to audio routing, which is really important for the process we’re going over today. To find out which version of the firmware you currently have, you can press the Setup button on your console, and then under the global tab, you’ll see your firmware listed in the top left-hand corner. I’m using version 4.02 right now. If you need to update your firmware, you can head over to the Behringer website and find the latest version of the firmware and instructions on how to install.
Now, the first thing that we want to do is send audio from ProPresenter to our console, and often what you would do is take a cable like this one with a headphone connection on one side and plug that into your computer, and maybe there’s a pair of RCA connections or XLR connections, and you’d patch those into the back of the console. But this is really limiting. You only have two channels that you can send and you can’t receive any audio.
The alternative that we’re going to take advantage of in this video is the built-in USB card that comes with your console. This can do up to 32 channels of audio out and in at the exact same time using a single USB connection. Now, keep in mind that your ProPresenter computer does need to be near your audio console, so if you can’t have them physically close enough to plug a USB connection between the two of them, you could set up a multichannel audio interface on your computer, or maybe you could set up a Dante card and add a Dante card to your console, which will allow you to send audio over your network.
Let’s get started by plugging that USB cable in. You’ll see I already have that plugged in on the back of my console here. There are two different places that you can plug that USB connection into. Make sure it’s in the card connection, not the remote connection. Then we’re going to take that other end, and we’re just going to plug that into our computer, and now, our computer should see our X32 as an audio interface. Now, if your computer does not recognize your soundboard as an interface, you’ll want to download the drivers to your computer from Behringer’s website.
You can see here in our system preferences, if we click on Sound, we’ll see all of our different sound devices, and one of those devices is our X-USB, which is the USB connection on our X32. Now, instead of changing this here in our system preferences, we can change this inside ProPresenter, so we’re going to go to ProPresenter, preferences, and then to audio. Here, we can set up our main output device from ProPresenter, and instead of using the system settings, we can select X-USB. Now, ProPresenter will send all audio out the X-USB card and it will send it out the first two channels.
Let’s make sure that this is working properly. What I’m going to do is I’m just going to play a song from an audio playlist here, so I’m just going to click this song, and you’ll see that we start seeing our audio metering inside ProPresenter. But if we go back to our console here, you won’t see audio showing up anywhere. It’s not showing up on here, and that’s because we need to rout that card audio from the USB card into the console someplace. Currently, I’m using all of the channels here on my first 16 and my second 16, so my first 32 channels are all used, but we have another section on our board, which is the aux section, and we have six channels that we can rout audio into.
What we’re going to do is we’re going to go over to our routing on our console, and this will bring us to our main routing section where we can rout where audio comes into the console. You’ll see my first eight channels are set to local eight, so they’d be using the local channels on the back of the board. My second eight are local and then more local. I have some user-defined settings. Then you’ll see your aux-in area. This is what controls the aux-ins on the board. What I’m going to do is change this from aux-in, which is using the local inputs on the back of the board, and I’m going to change this to card one and two. Now, the first two channels are set to card one and card two, and you’ll see that we have audio metering, and then the last four are still set to aux-in, so they’re still set to those local inputs. But now, you’ll see that we have our audio metering.
The next thing we need to do is select one of these channels and press the Home button and let’s link these together because right now, these faders are separate, and this is not set up as a stereo mix. Once we hit Link on that first channel, it’s going to link aux one and two together. We’re going to confirm that. Now, we have paired faders that are set as stereo. You’ll see that our first one is panned left and the other one is panned right. This is all set up as a stereo mix for our first two channels that are coming from ProPresenter. Now, I routed that to the aux section because it’s so easy to rout card channels in there, and all my other channels were being used for other things. But by the end of this video, you should be able to rout that audio to any other place that you want to on your console.
Next, let’s set up a simple mix for our livestream and send that audio back to ProPresenter. Now, there’s many things that we should consider when we’re wanting to create a great-sounding livestream mix. It’s way more than I can cover in this video, so what I’m going to do is I’m going to help you get started in the right direction by getting your audio properly routed back to ProPresenter using that same USB connection. Now, we could choose for our mix just to use the main left/right stereo mix from the console, but this is rarely going to sound good for an online mix because you don’t have the same acoustics and the same live musicians and it doesn’t give you the ability to adjust settings differently for your online mix versus your in-person mix, so what we’re going to do is we’re going to utilize a mix bus, or a set of mix buses to create a stereo mix for our livestream, which will give us much better control of what’s being sent to our livestream, and maybe what’s not being sent to our livestream.
The first thing that we need to do is we need to find two different mix buses that we can use to create our livestream mix. On our console, we need to look for an open bus. Now, my bus is one through eight are set up as monitor mixes for my band on stage, and when we go to buses nine to sixteen, you’ll see that some of them are being used for effects racks, but we do have open buses on nine and ten. Let’s select bus nine and let’s make sure to link that. I’m going to press Link on my screen here and I’m confirming that I want to link bus nine and ten together. Now, we have a stereo bus to be able to send stereo audio out.
The next thing that we need to do is configure our bus nine and ten, so let’s go over to the configure tab, and we want to make sure that our bus is configured as a post-fader mix. Now, there are two main types of mix buses. A pre-fader mix and a post-fader mix is what you’ll normally see. Typically, a monitor mix for a musician is set as pre-fader. This allows the musician to set their monitor levels and they’ll always be the same, so even if the sound person turns a fader up or down in the front-of-house mix in the room, the levels in their monitor will always stay the same. The other option is a post-fader mix. This type of mix is dependent on what the sound person is doing and how they’re mixing the room, so if you turn a channel up in a post-fader mix, it will only be heard if that same channel is turned up in the main mix.
A post-fader mix is perfect for livestreaming because it’s going to be dependent on what’s being done in the room, so if somebody’s mixing a guitar solo, and turns that up, or turns a musician down, or a vocalist up or down, all of those adjustments will be heard for your online mix. But the best part about this post-fader mix is that you can make some overall global adjustments to say, “I want some channels to be a little louder online than they are in person. Or maybe I want them to be a little quieter online than they are in person.” You can do all of that through this post-fader mix.
The way that we set this up is by selecting one of our buses, so select bus nine, or select bus ten. You can select either and then we can click on Sends on fader. This is now going to show us which faders are turned up in buses nine and ten. A great place to start is by turning everything up to unity, or zero, so everything’s going to be up to here, and now, the exact same amount of sound that’s being sent to front of house is going to be sent to that online mix.
But let’s say we have some channels that we want to be a little bit louder online than they are in person, maybe like our cymbal mics. We could turn those up a little bit, and so now, every time the symbols are turned up or down, they’re being turned up or down a little bit more than every other channel. We could do the same thing for maybe our headset and handheld mics because speaking microphones are typically a lot quieter in person than the band is, and online, you’ll notice that discrepancy big time. What we’re going to do here is we’re going to just turn those all the way up. We’re going to add an extra 10 DB of volume to those channels so that they’re much more similar in volume to the music when you’re listening online.
If you wanted something to be totally off in the online mix, you can just turn the fader all the way down. Here, I have a stage click channel and it’s turned all the way down, so no matter what, if I deselect sends on fader, and now, I’m seeing my actual mix for front of house, if I turned this stage click up for some reason and turned that click channel up in the house, nothing would be heard online because when I go back to sends on fader, you’ll see that this channel is not being turned up at all, so we have control of what’s being sent and what’s not being sent.
You can go through and make those adjustments and fine-tune all of those settings. But now that we have that mix bus set up, we now need to send that mix back to ProPresenter. The way that we do that is through some more routing. On our console, we’re going to press Routing, and then we’re going to arrow over to patch points, so I’m going to arrow over to the right, and go to patch points. Here, you can see our analog outputs, our aux outputs, our P16 outputs, and we have an option to do user-defined inputs and outputs. If I switch over to outputs, you’ll see all of the categories of things that we can output from our console.
But the one thing that you’ll notice that is missing from this list that we want to do is we want to rout out our mix bus, and you don’t see a mix bus option in that list, so what we need to do instead is use our regular analog outputs as a way to get our mix bus out ’cause if you look at output one, typically this is set to mix bus one. Output one is set to mix bus one, output two is set to mix bus two, and if we go down to output nine, you’ll see that it’s set to mix bus nine post-fader. If yours isn’t set that way, you can easily go and select that and change what it is here in those settings. Output nine is mix bus nine and output ten is mix bus ten.
Now, let’s go back over to our user settings, and we’re going to set the output of our custom user-defined settings for one to eight to be our output nine and ten. I’m going to set out one and I’m going to go down to output and I’m going to set that to output nine. Then out two I’m going to say is output ten, so now, the first two channels of our user-defined, one to eight is set to outputs nine and ten, which is our mix bus nine and ten.
Now, the last thing that we need to do is we need to go back to our block routing and you’ll see an option for card routing. Here, these are where all of our channels are being sent out. I said we could have 32 channels of audio being sent out the card, and this is where those audio channels are coming from, so instead of sending the audio from local inputs one to eight out of the card, we’re going to go down and we’re going to use that user setting that we just created. We got to scroll down to the bottom here, and way down at the bottom, you’ll see user out one to eight, and I’ll just select that. When I select it, you’ll see my list changes over here and shows me that now the first two channels coming out of the card are mix bus nine post-fader and mix bus ten post-fader.
Now, I know audio routing can be a little confusing, so let’s go over and summarize what we just did there. Because the X32 does not have a way to directly send audio from a mix bus to the USB card in one simple step, we had to do a couple extra steps in between. The first thing that we did is that we went to our analog outputs and made sure that our mix bus was being sent out of an analog output, so that it was being sent out of output nine and ten, the physical analog outputs. Then we went into the user setting and we said we wanted our user setting for channels one and two to be set to that analog out nine and ten. Then we could go to our card settings where we actually choose what channels are being sent out of the USB card and we change that to our new user settings, which allowed our mix bus nine and 10 to be sent to our computer. A little bit confusing, but once you understand the steps and why you have to do it, it makes a whole lot of sense.
Now that we have our audio from mix bus nine and ten going out of our card channels one and two, we can utilize that inside ProPresenter. In ProPresenter, let’s go to ProPresenter and preferences and go to inputs. Here, we’ll be able to add in a new audio input. I’m going to add in a new audio input and the first thing we’ll do is we’ll just name this X32 and let’s change the mode of this to be on because I just want my audio to always be on and always be coming in, so I’m just going to set that mode to on, and it will only be turned off if I would manually disable it. Next, we can choose our source, and I’m going to choose X-USB, my USB connection to my console. Then finally, you’ll see that we have all of our channels of audio coming in. Now, I don’t actually want to use all of those channels, so I’m going to say select none, and then I’m just going to select channels one and two because those are the channels that my audio from mix bus nine and ten are being routed back to the computer, and those are the only channels I really want to bring back inside ProPresenter.
Now, we’ll play some audio from an audio playlist inside ProPresenter and rout that back so that we can see that our audio is working, so I’m going to play some audio here. You’ll see that it’s playing back on the computer here, and if we look on our console and our aux-in area, you’ll see that we have audio playing back. I’m going to unmute those channels and turn them up, but I need to make sure those channels are actually being sent to our mix bus, so with our mix bus selected, I’m going to say sends on fader, and I’m going to turn these up. Now, we can see audio showing up in our mix bus nine and ten, so you’ll see our meters showing up here, and now, we can go back from sends on fader.
We’ll go back inside ProPresenter now and we’ll go back into our preferences for our input and you’ll see that, well, we actually don’t see any audio coming into channels one and two. That’s because on our console, mix bus nine and ten is set up as post-fader, and so our master volume is right here, so if I turn my main mix bus nine and ten faders up, now I have audio being sent to the computer and you can see that showing up in channels one and two.
But this is where we can run into a problem. We’re now sending audio out and receiving it back, and this is where we’re going to create those feedback loops that we don’t want. How do we change that? Well, we need to actually add in more channels of audio inside ProPresenter, so in ProPresenter, I’m going to go to the audio tab here, and I’m going to change my channel account from two to four. You’ll see we get some new audio meters over here on the right side, and now, I can rout my input audio to different channels than my output audio.
We’ll go back over to our inputs and I’m going to go to my channel routing here. This is going to bring up this list of all of our channels. Here’s the channels from the USB card, and then here are ProPresenter’s audio channels. My audio is coming from the X-USB device on channels one and two. I want to move that audio to channels three and four. When I do that, you’ll see that we now have audio metering over here, so now, our audio from the console is coming into the computer in channels one and two, but we’re shifting that inside a ProPresenter into channels three and four. Now, we could just rout the audio on the console to three and four if you wanted to. That would be another way to do it. But now, you fully understand how to do audio routing on the X32 side and on ProPresenter side.
Now, if I turn these faders down on my console, you’ll see that they get turned down in the livestream mix, but my audio is still playing out of ProPresenter. I also could turn my mix bus down and you’ll see again we lose our audio there, or we could say, “I don’t want to rout that audio back through,” and we could say, “Sends on fader for mix bus nine and ten and turn that down,” and so now, we’re not getting any audio to our livestream, but our front-of-house mix is still getting this audio. This gives us all of that flexibility to say which audio do we want sent where, so you have a lot of different options here.
The next thing that we need to look at is, how do we send that audio to our livestream? The first thing that I’m going to do is I’m going to make sure that our aux audio, our audio is going to our mix bus. Currently, none of this audio is being sent to our mix bus, so I’m going to do sends on fader for our mix bus, and I’m going to turn that up, and you’ll see we now have audio going to mix bus nine and ten. Then we can go back inside ProPresenter and we can see that we have this audio going to channels three and four, the way that we set it up in our routing right here.
I can close out of our preferences. Now, to make sure that audio is being sent to our livestream, we need to click on the Live button right above the preview area and go to our capture settings. In our capture settings, you’ll see we can choose which source, what video source. Which screen do we want to stream? What’s our destination? Do we want to record to disc, do an RTMP stream, stream to Resi? We have our address in all of our settings, but down at the bottom, you’ll see audio routing. This is what we want to make sure is set correctly. On the left side, you’ll see the ProPresenter channel. We have four channels of audio in ProPresenter, and remember, the first two channels are the channels of audio that we’re sending out of ProPresenter, and the second two channels, channels three and four are the audio we’re receiving back from our audio console. Then here is the left/right mix that’s being sent to our online stream, so what we want to do is set that to three and four.
What this means is that the only audio that will be sent to our livestream is what’s being created in that aux bus mix for buses nine and ten. If you don’t have audio in there, so if we would take away that audio from ProPresenter, now no audio from videos or playback inside ProPresenter will be sent to our livestream mix, so you need to make sure you include ProPresenter’s audio inside of that bus mix. We’ll sends on fader, turn that up, and now, our audio is being sent to our livestream mix.
Now, you could leave ProPresenter’s audio out of your bus mix and just select channels one and two inside of ProPresenter to be sent to our livestream mix. However, this audio is not mixed. This is full-volume audio from your video, and you can’t turn it up or down, so if the fader gets turned down at front of house, it’s not going to adjust that because this fader is not in control of the volume. Now, this could work perfect for you, or you could end up with audio that is way louder than the rest of your mix, so you need to test that to figure out what the right setting is for you.
But the one thing that you really want to make sure you do not do is you don’t want to select channels one and two and have your ProPresenter audio being sent to your bus mix because that’s how you get doubling and that’s how you get feedback loops, so make sure that you’re not doing both of those things. You’re either adding in channels one and two and not having ProPresenter’s audio in your bus mix, or turn off channels one and two and add ProPresenter’s audio to your bus mix, and then your bus mix is in full control of your livestream.
But now that you see both of those options, you can choose which one is best for you and will create the best-sounding livestream mix, and you can see how utilizing that USB card on your X32 and M32 console opens up all of these possibilities for sending and receiving multiple channels of audio. Now, I showed you one way that you can rout and set this up, but you can use these principles and ideas to implement this into your current workflow. If you want to learn more about audio inputs and audio routing inside ProPresenter, make sure to check out our other in-depth tutorials and continue learning more at propresenter.com.


Stay Updated with Our Newsletter
Get the latest news, updates, and exclusive offers delivered straight to your inbox.
Questions?
Browse our FAQs or our Knowledge base that we’ve made to answer your questions. Need additional help? Connect with a support team agent!
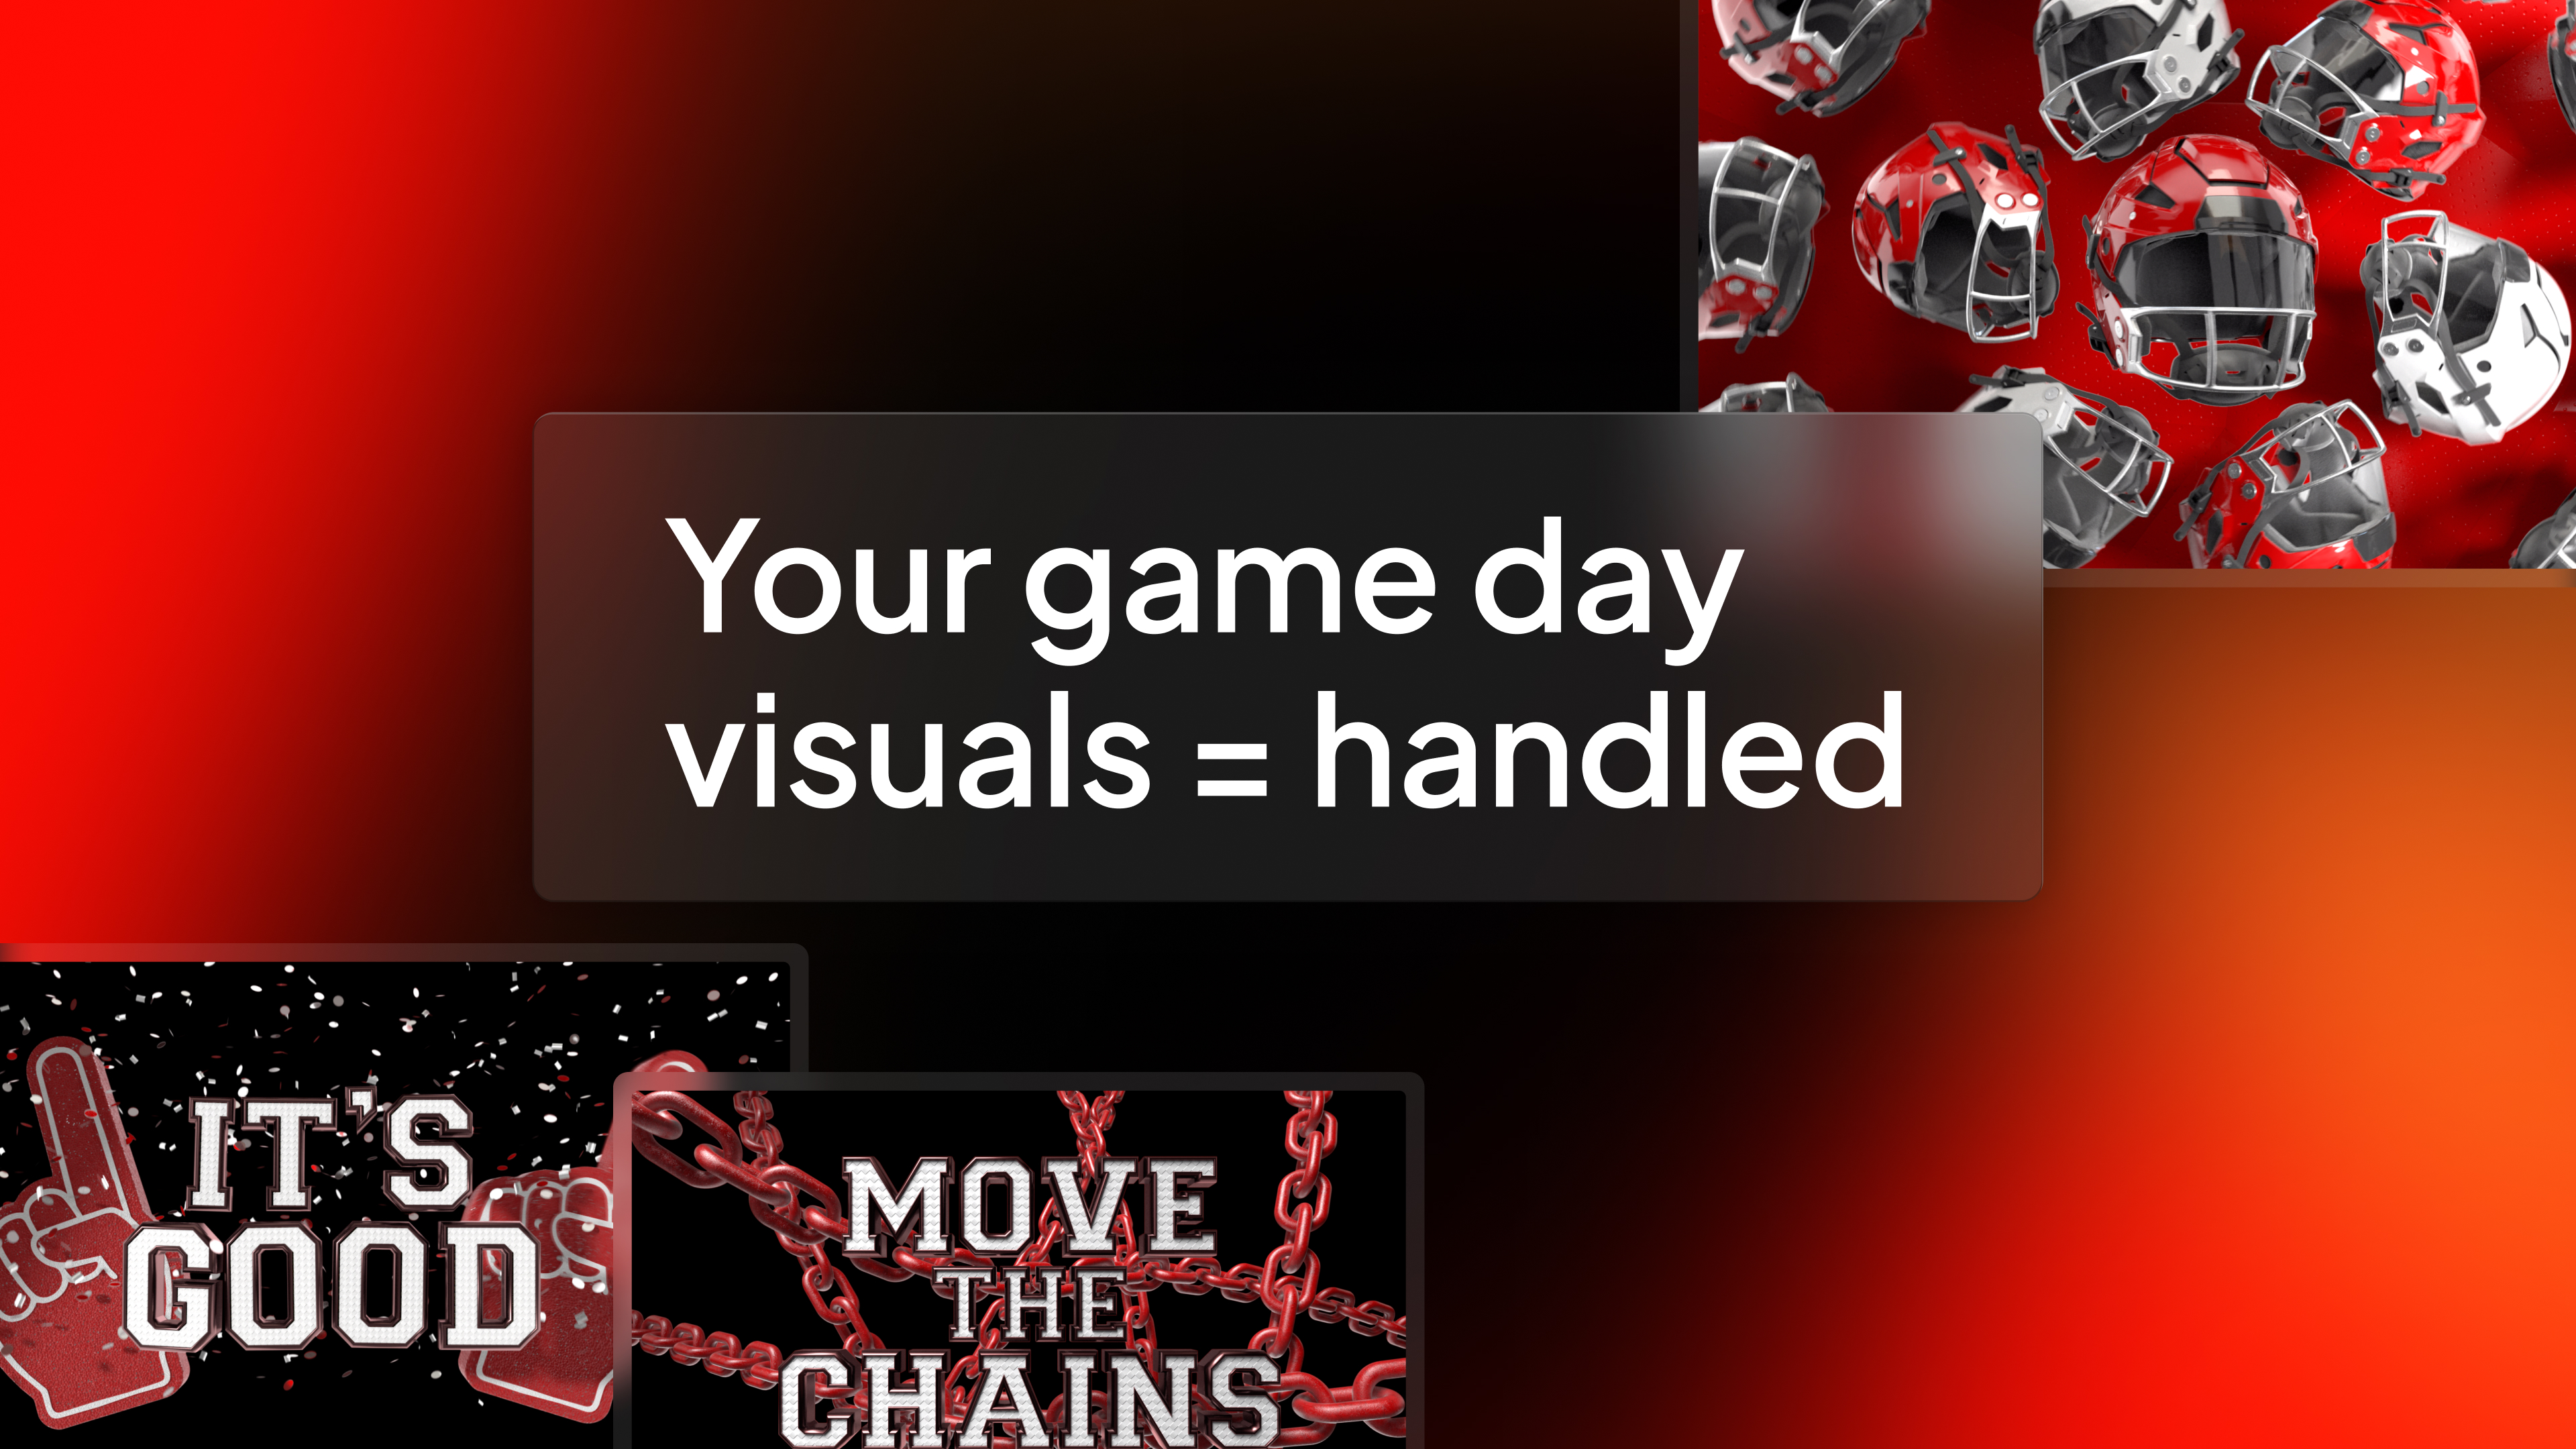
What’s included in a ProScoreboard subscription?
A subscription gives you access to ongoing updates ensuring your software always stays current, a ProContent starter pack customized to your teams colors to enhance your game-day visuals, editable scoring templates with ready-to-go layouts you can easily tweak, video tutorials and 7-days a week support.
How is ProScoreboard different from traditional systems?
Traditional systems are often expensive, in a fixed-location, and hard to update. ProScoreboard gives you flexibility, portability, and dynamic visuals at a fraction of the cost… all while working on hardware you already own.
Does ProScoreboard work for multiple sports?
One license, multiple sports. Switch between custom layouts in seconds, making it perfect for schools and venues that host a variety of athletic events. ProScoreboard is built for versatility; supporting football, basketball, baseball, volleyball, soccer, hockey, tennis, lacrosse, Australian football, and more. Each sport has a purpose-built layout with the correct rules and visuals, so you can create a professional experience for any game.
Can ProScoreboard integrate with existing LED or fixed-digit scoreboards?
Yes. ProScoreboard works with most scoreboard controllers. With just a serial connection and a simple dropdown setting, you can sync your visuals with existing systems- even legacy ones. We’ve done the heavy lifting so your transition is seamless.
Does it work with Scoretables or smaller setups?
Not every gym has a massive LED wall. That’s why we offer a Scoretable Edition, built specifically for tabletop displays at a lower cost. Run it solo or link it with larger displays. Available through resellers like Boostr, Formetco, and Digital Scoreboards.