
Stay Updated with Our Newsletter
Get the latest news, updates, and exclusive offers delivered straight to your inbox.
Questions?
Browse our FAQs or our Knowledge base that we’ve made to answer your questions. Need additional help? Connect with a support team agent!
What’s included in a ProScoreboard subscription?
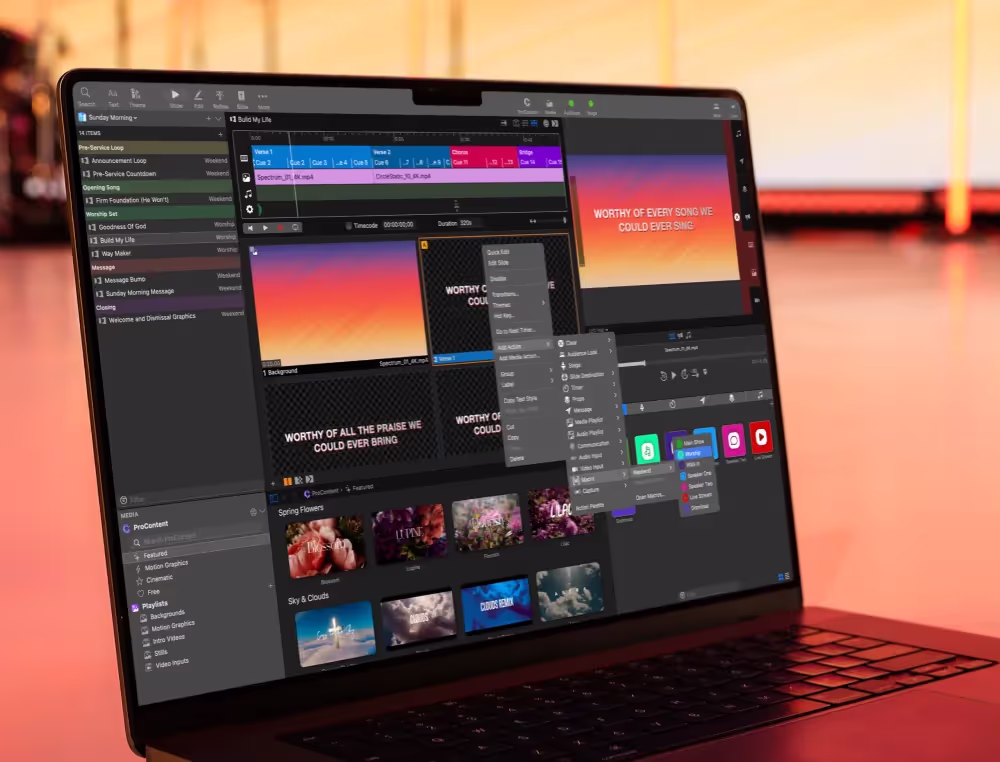
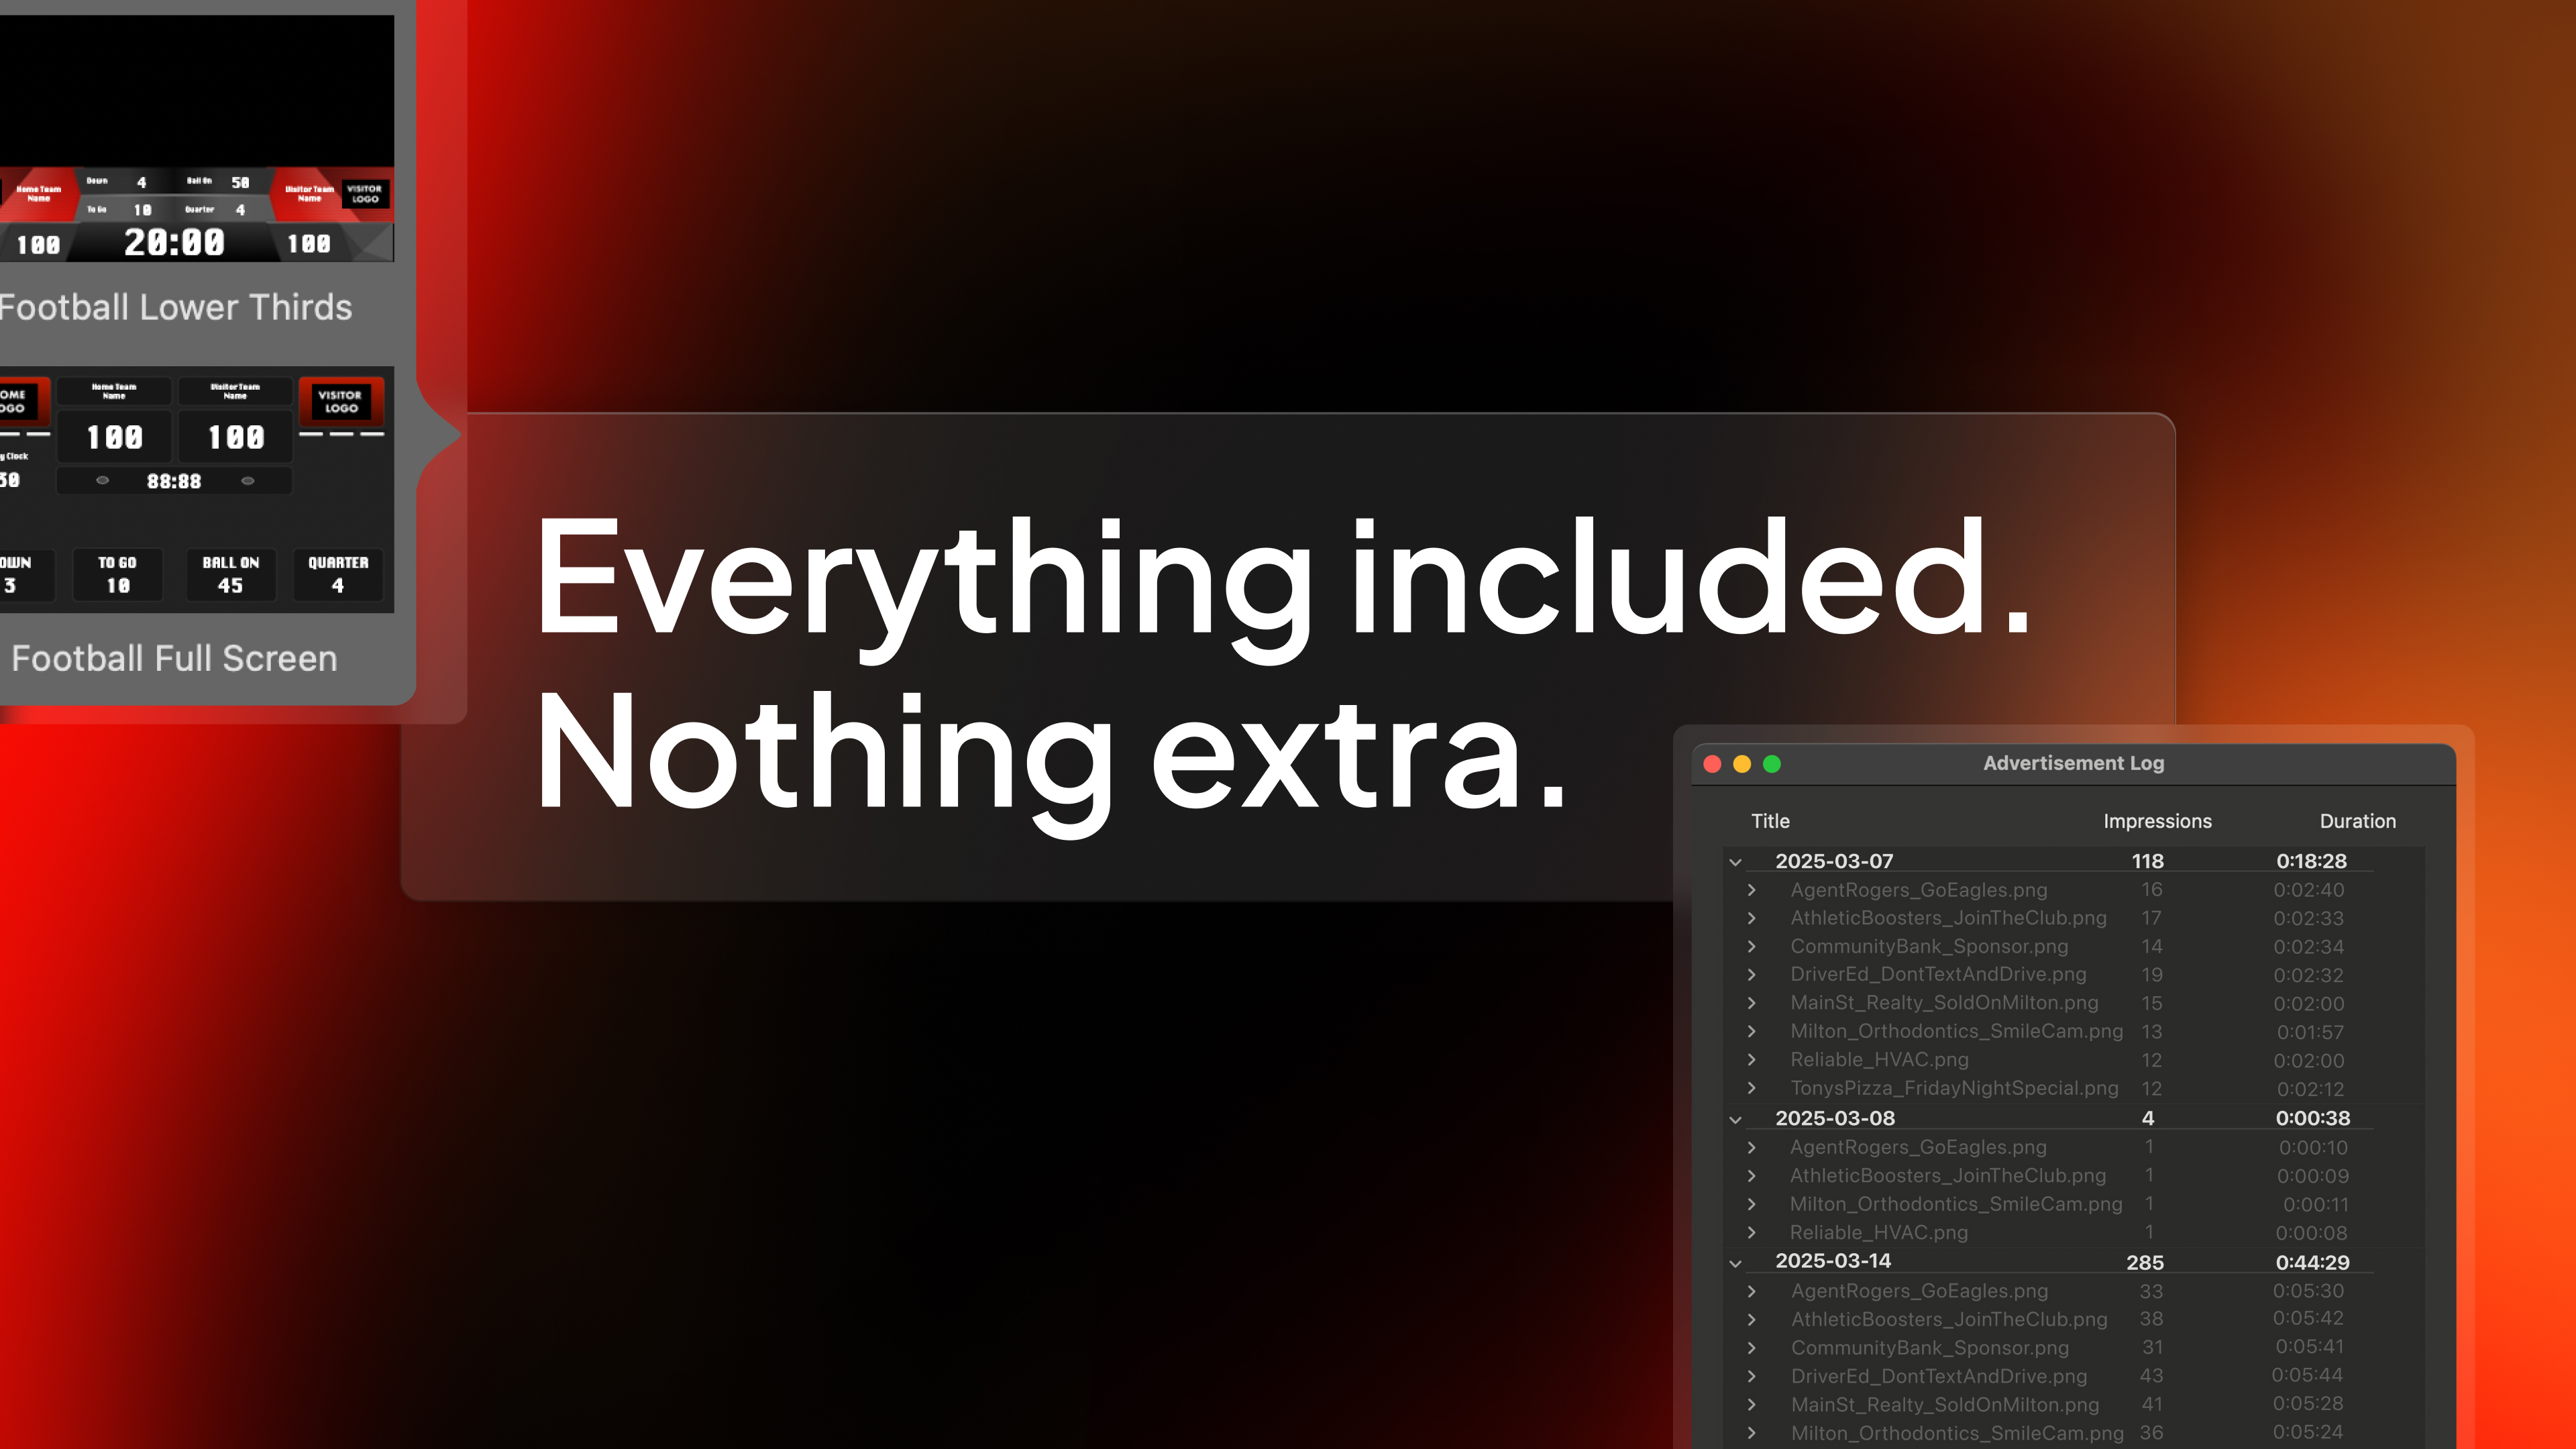
A subscription gives you access to ongoing updates ensuring your software always stays current, a ProContent starter pack customized to your teams colors to enhance your game-day visuals, editable scoring templates with ready-to-go layouts you can easily tweak, video tutorials and 7-days a week support.
How is ProScoreboard different from traditional systems?
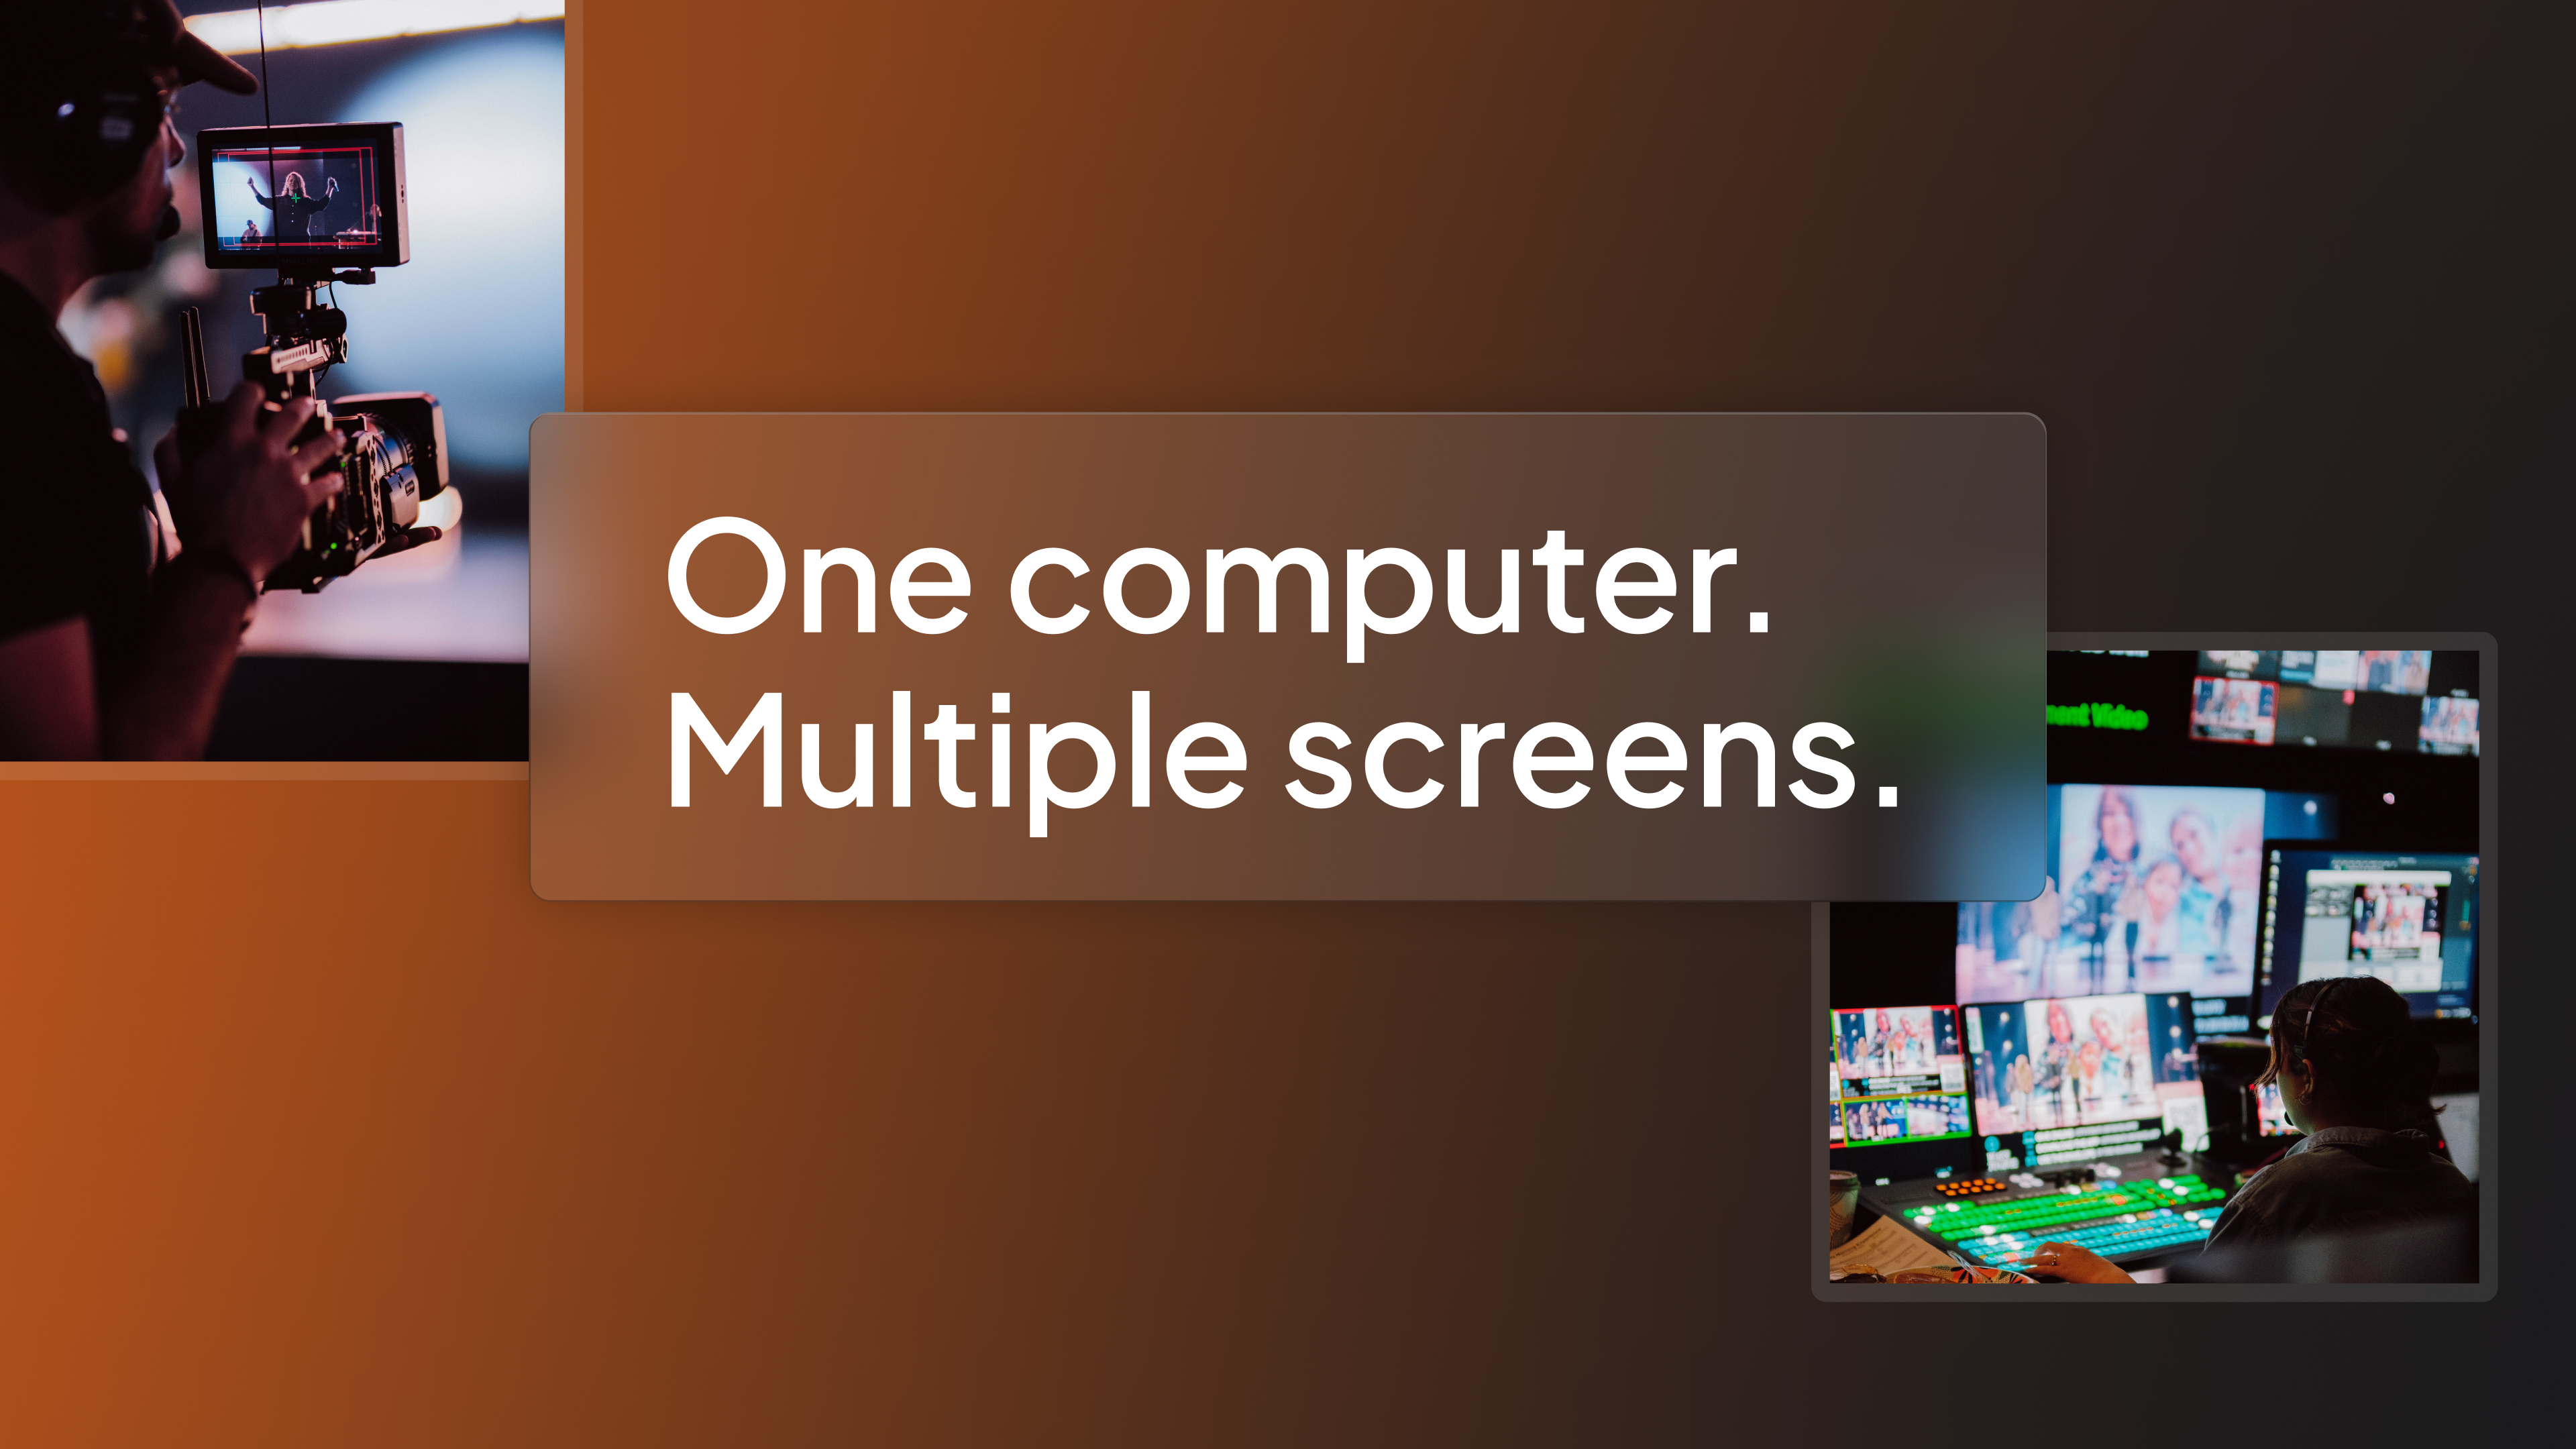
Traditional systems are often expensive, in a fixed-location, and hard to update. ProScoreboard gives you flexibility, portability, and dynamic visuals at a fraction of the cost… all while working on hardware you already own.
Does ProScoreboard work for multiple sports?
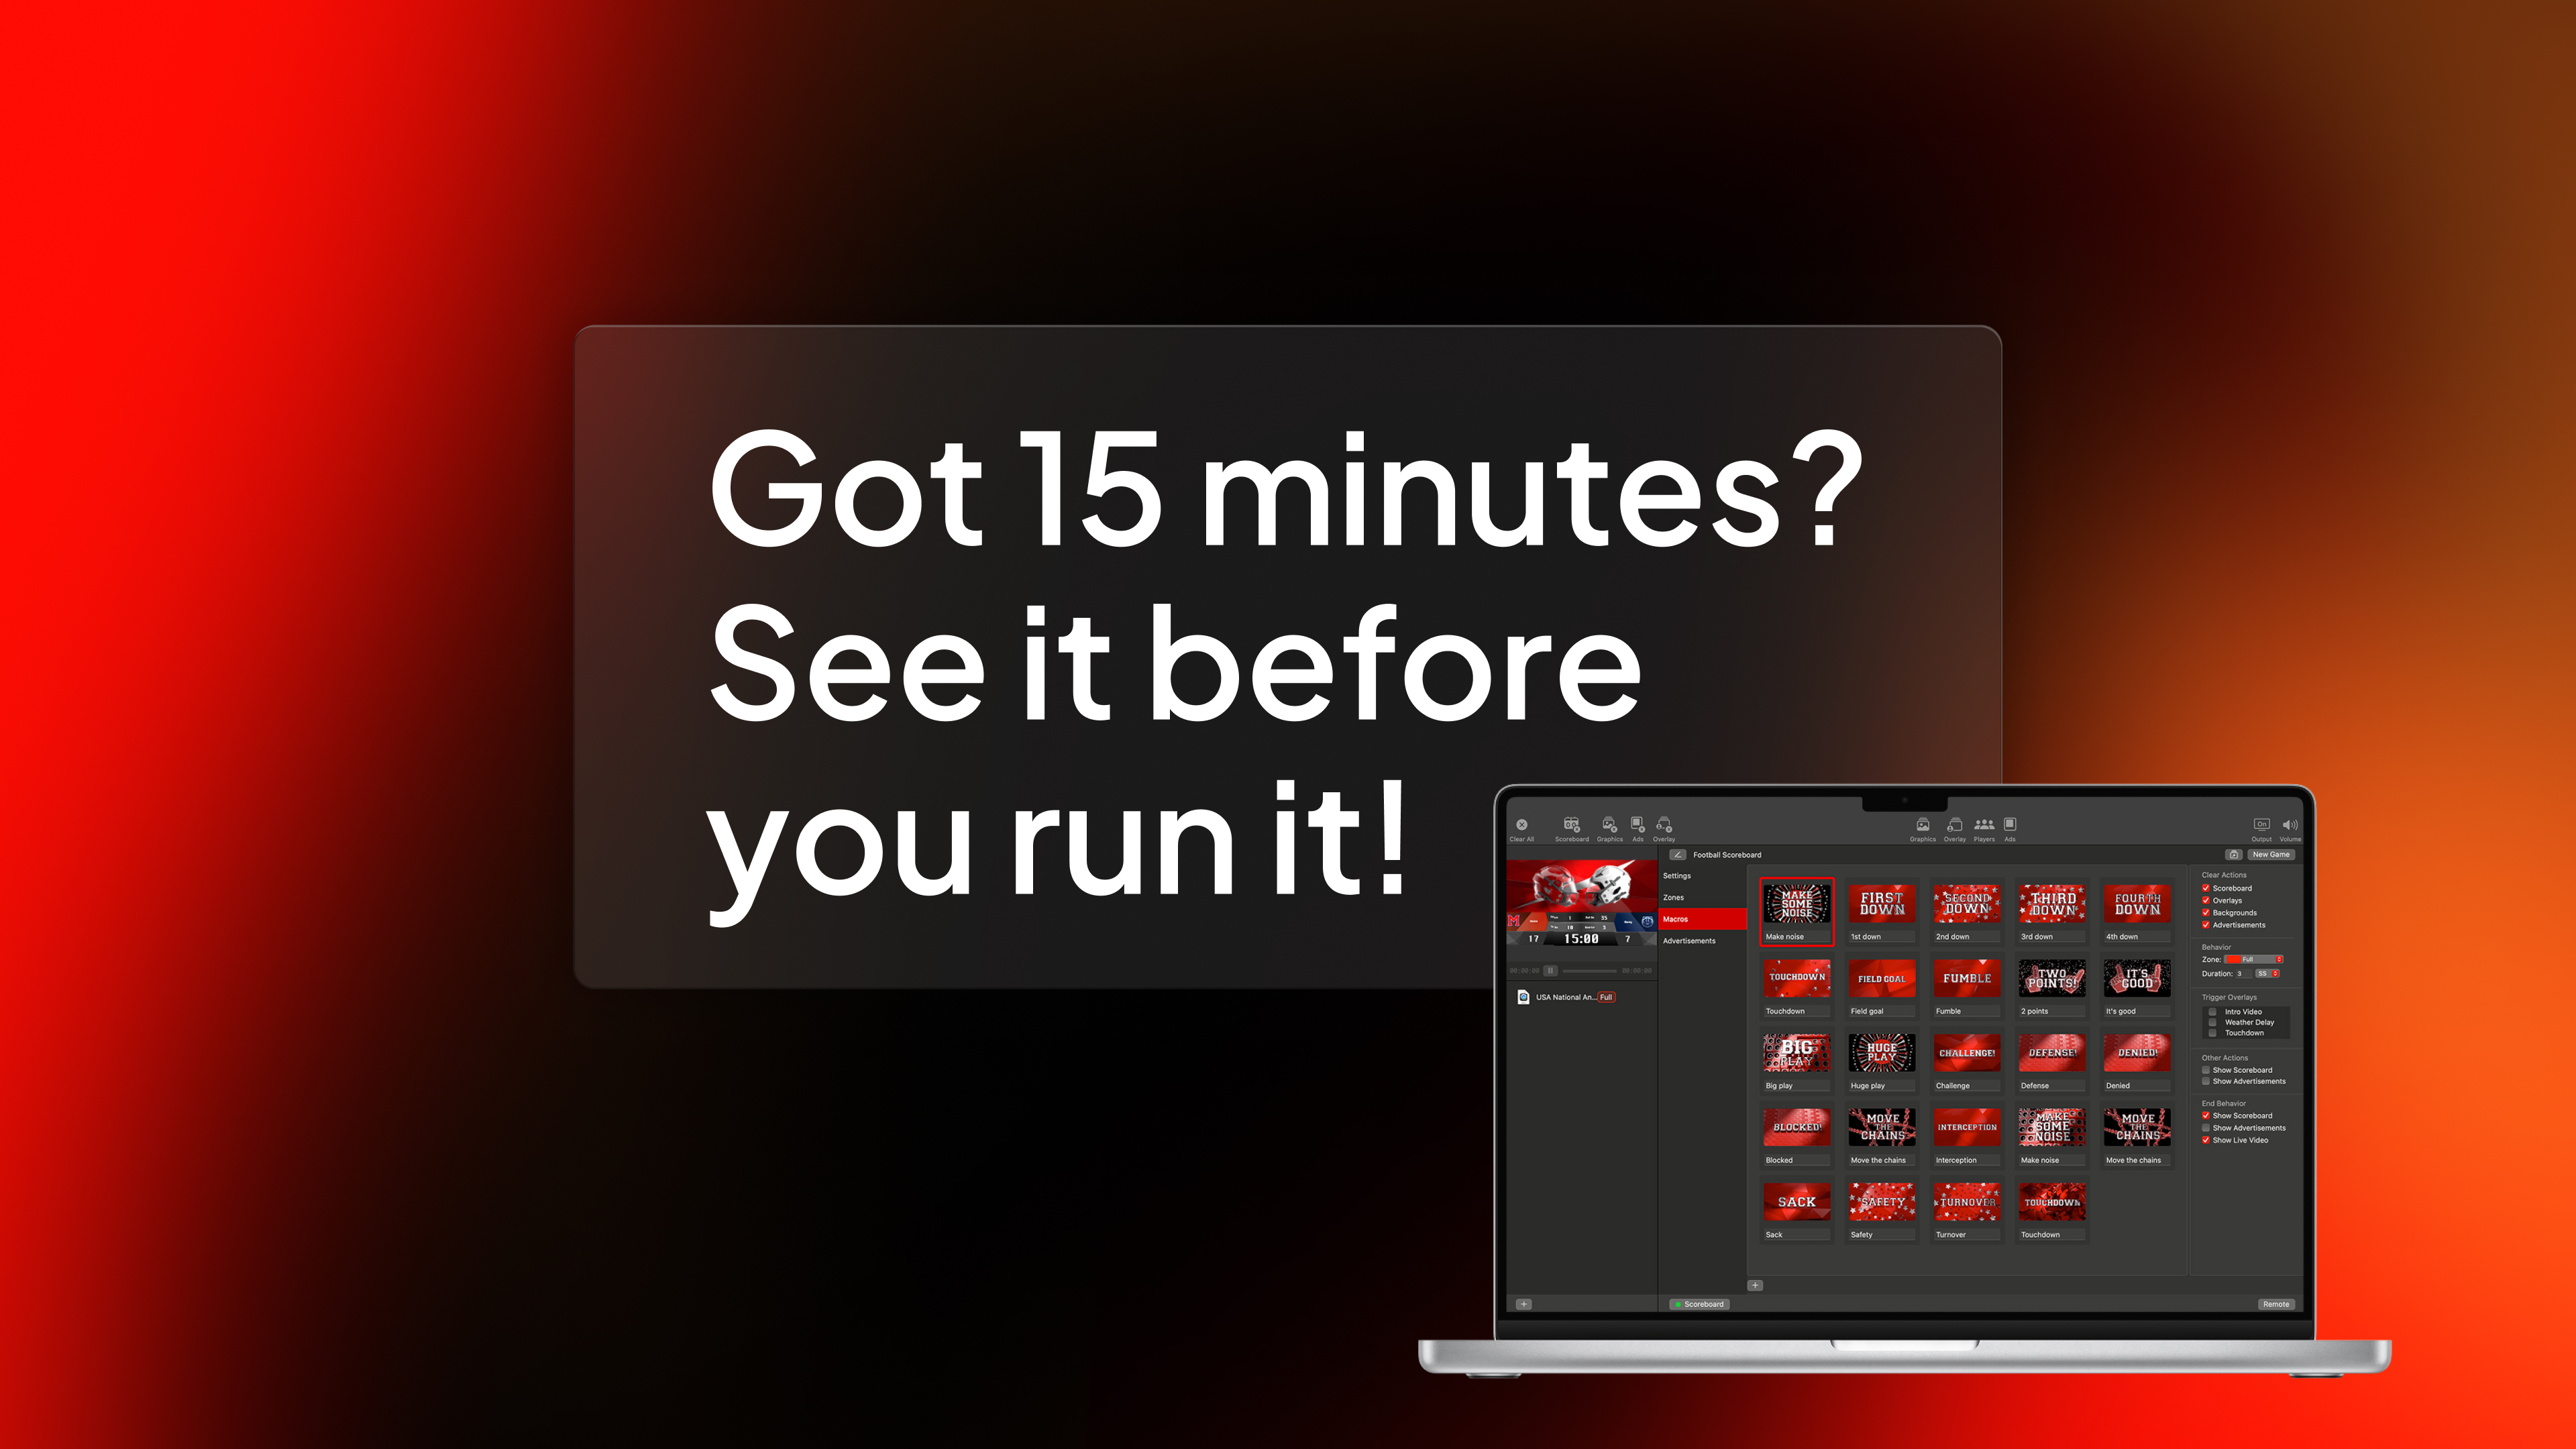
One license, multiple sports. Switch between custom layouts in seconds, making it perfect for schools and venues that host a variety of athletic events. ProScoreboard is built for versatility; supporting football, basketball, baseball, volleyball, soccer, hockey, tennis, lacrosse, Australian football, and more. Each sport has a purpose-built layout with the correct rules and visuals, so you can create a professional experience for any game.
Can ProScoreboard integrate with existing LED or fixed-digit scoreboards?
Yes. ProScoreboard works with most scoreboard controllers. With just a serial connection and a simple dropdown setting, you can sync your visuals with existing systems- even legacy ones. We’ve done the heavy lifting so your transition is seamless.
Does it work with Scoretables or smaller setups?
Not every gym has a massive LED wall. That’s why we offer a Scoretable Edition, built specifically for tabletop displays at a lower cost. Run it solo or link it with larger displays. Available through resellers like Boostr, Formetco, and Digital Scoreboards.